How to Create Zones
Create detection zones for Everything Presence Lite in Home Assistant and configure the areas you want to monitor.
Tip
Looking for the full Zone Configurator guide? The Zone Configurator documentation has comprehensive guides for all features including the visual zone editor, room builder, heatmaps, and more.
Overview
Home Assistant supports zones, allowing you to track specific locations within a room or space. With zones, you can automate actions based on precise movement—for example, triggering one automation when someone sits on the living room sofa and another when they walk into the kitchen.
Installing the Everything Presence Zone Configurator Add-on
The Everything Presence Zone Configurator provides a visual tool for creating and managing zones. For detailed installation instructions including Docker setup, see the Zone Configurator Installation Guide.
Quick install for Home Assistant OS/Supervised:
- Open Home Assistant and navigate to the Add-on Store.
- Add the Everything Presence repository by clicking the link (Open Add-On Store of Home Assistant) or manually entering the following URL:
- Refresh the page and locate the Everything Presence Zone Configurator.
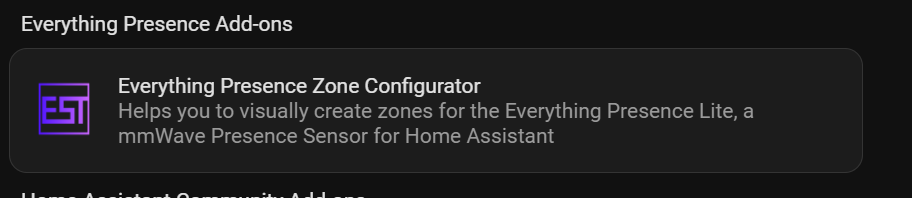
- Select the add-on and click Install.
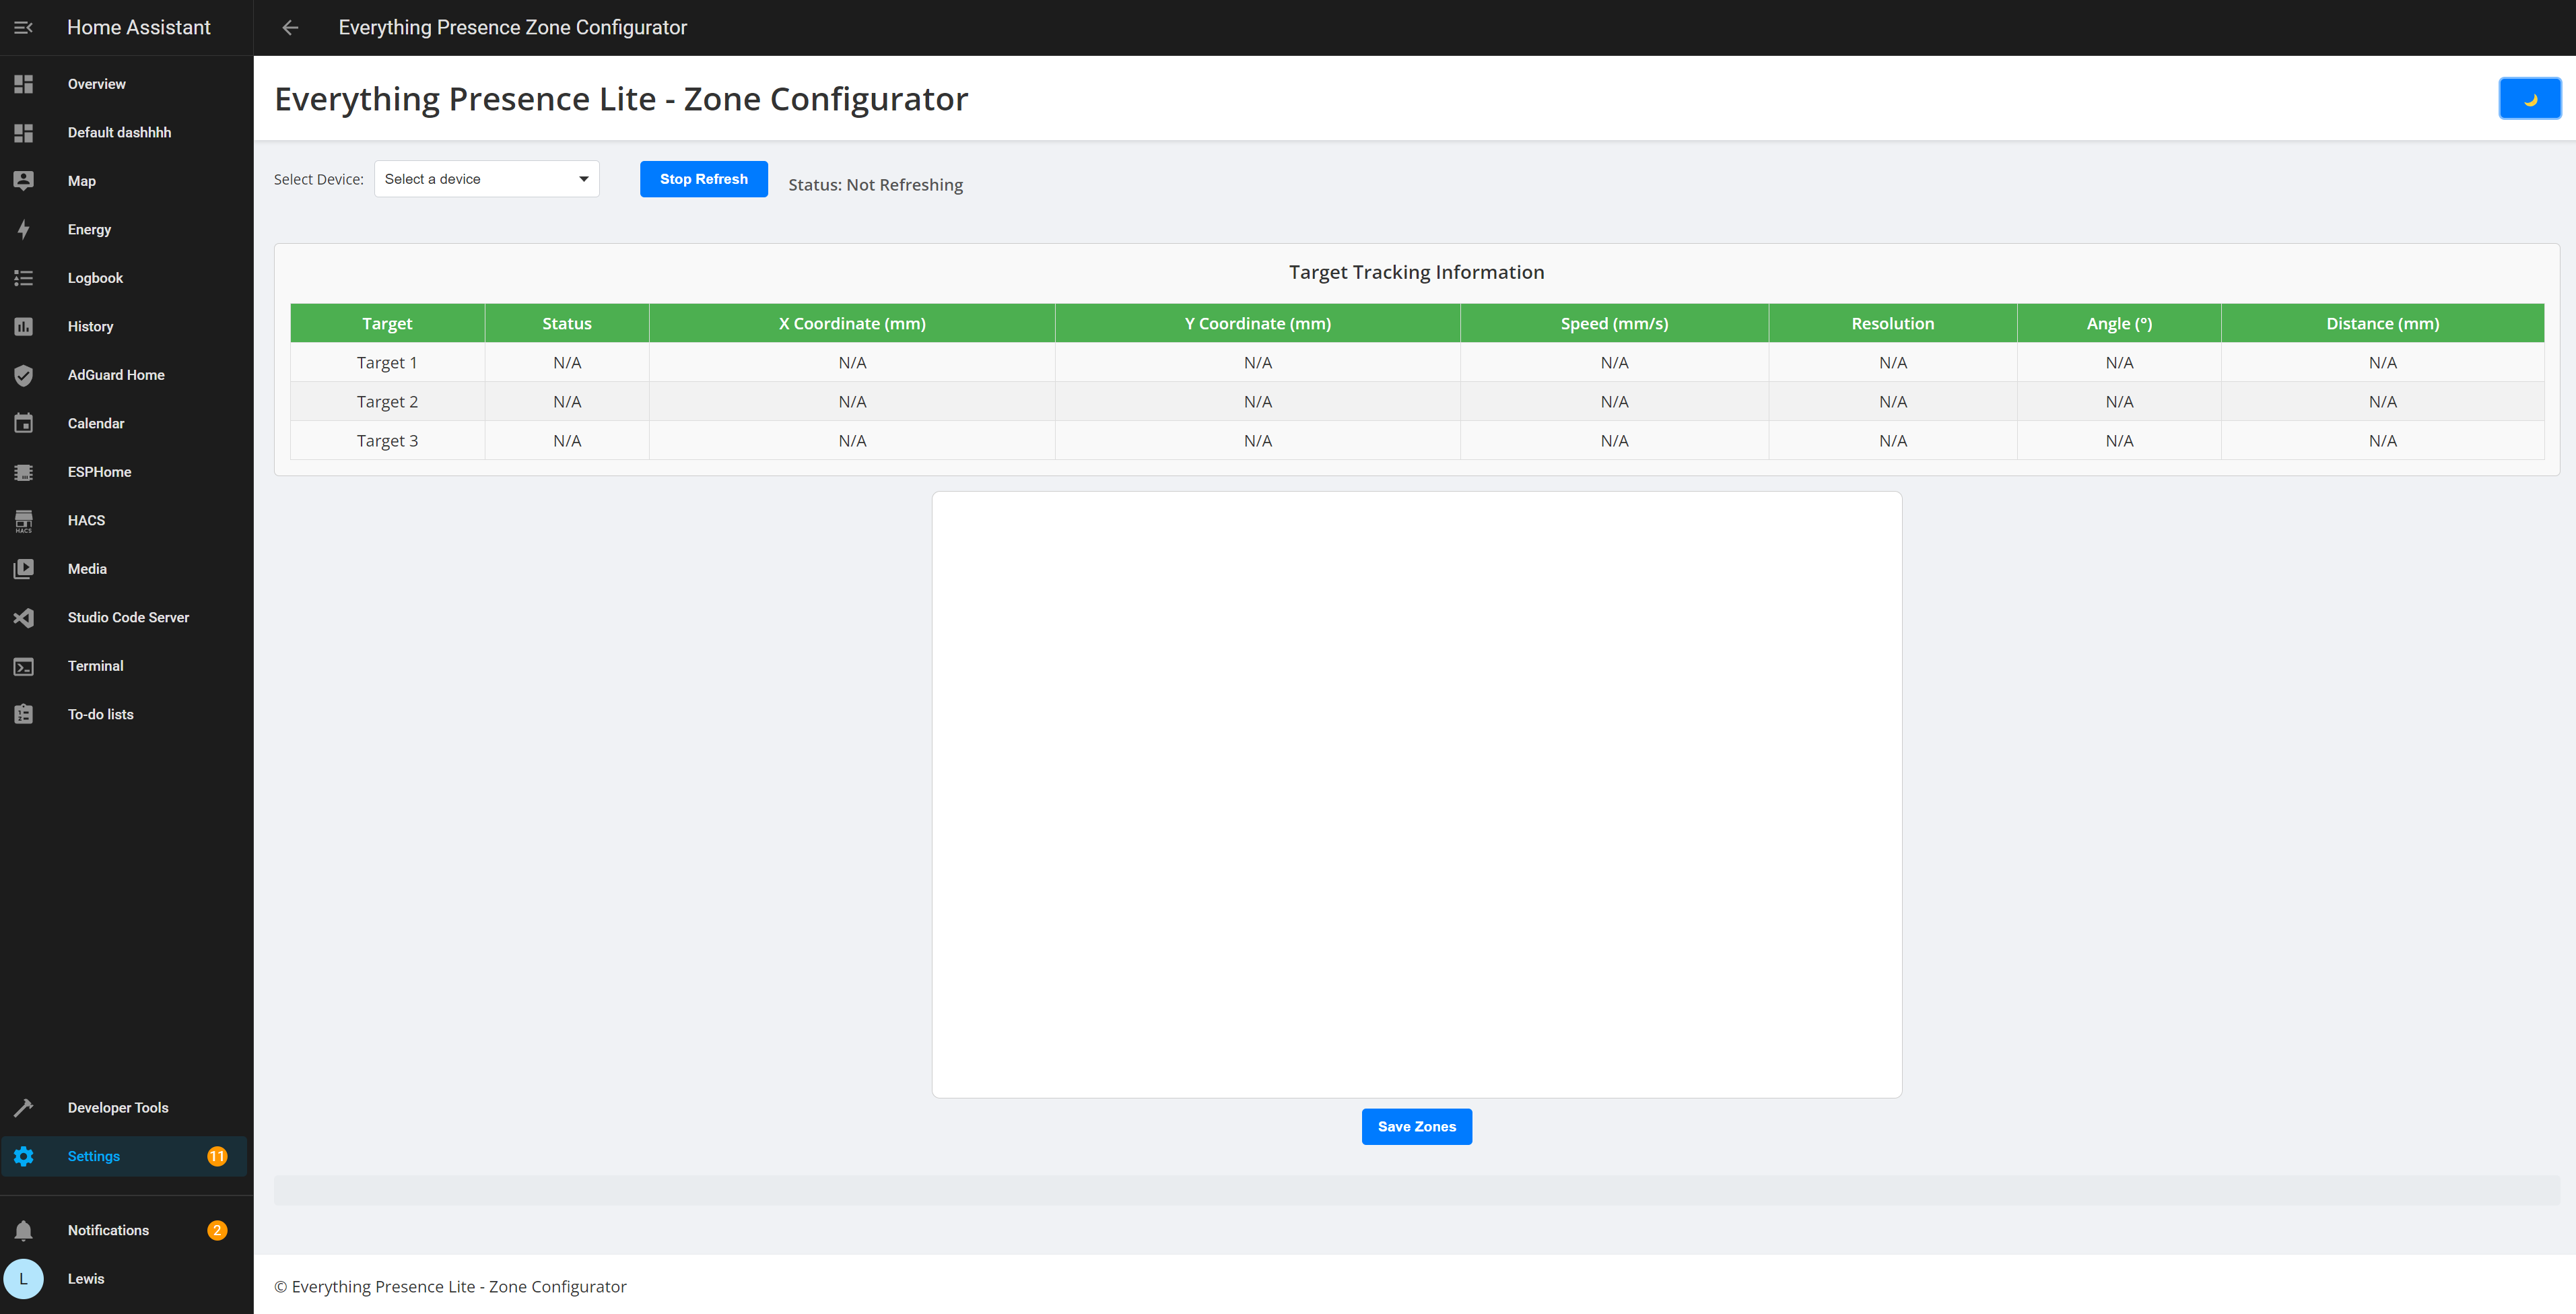
- Once installed, click Start, then select Open Web UI to launch the Zone Configurator Dashboard.
Using the Everything Presence Zone Configurator
For the complete guide to all Zone Configurator features, see the Zone Configurator documentation. Key features include:
- Live Dashboard - Watch targets move in real-time
- Zone Editor - Create and manage rectangular or polygon zones
- Room Builder - Draw your room layout with walls, doors, and furniture
- Entry/Exit Zones - Track when people enter or leave areas
- Heatmap - Visualize presence patterns over time
Quick Start: Creating Your First Zone
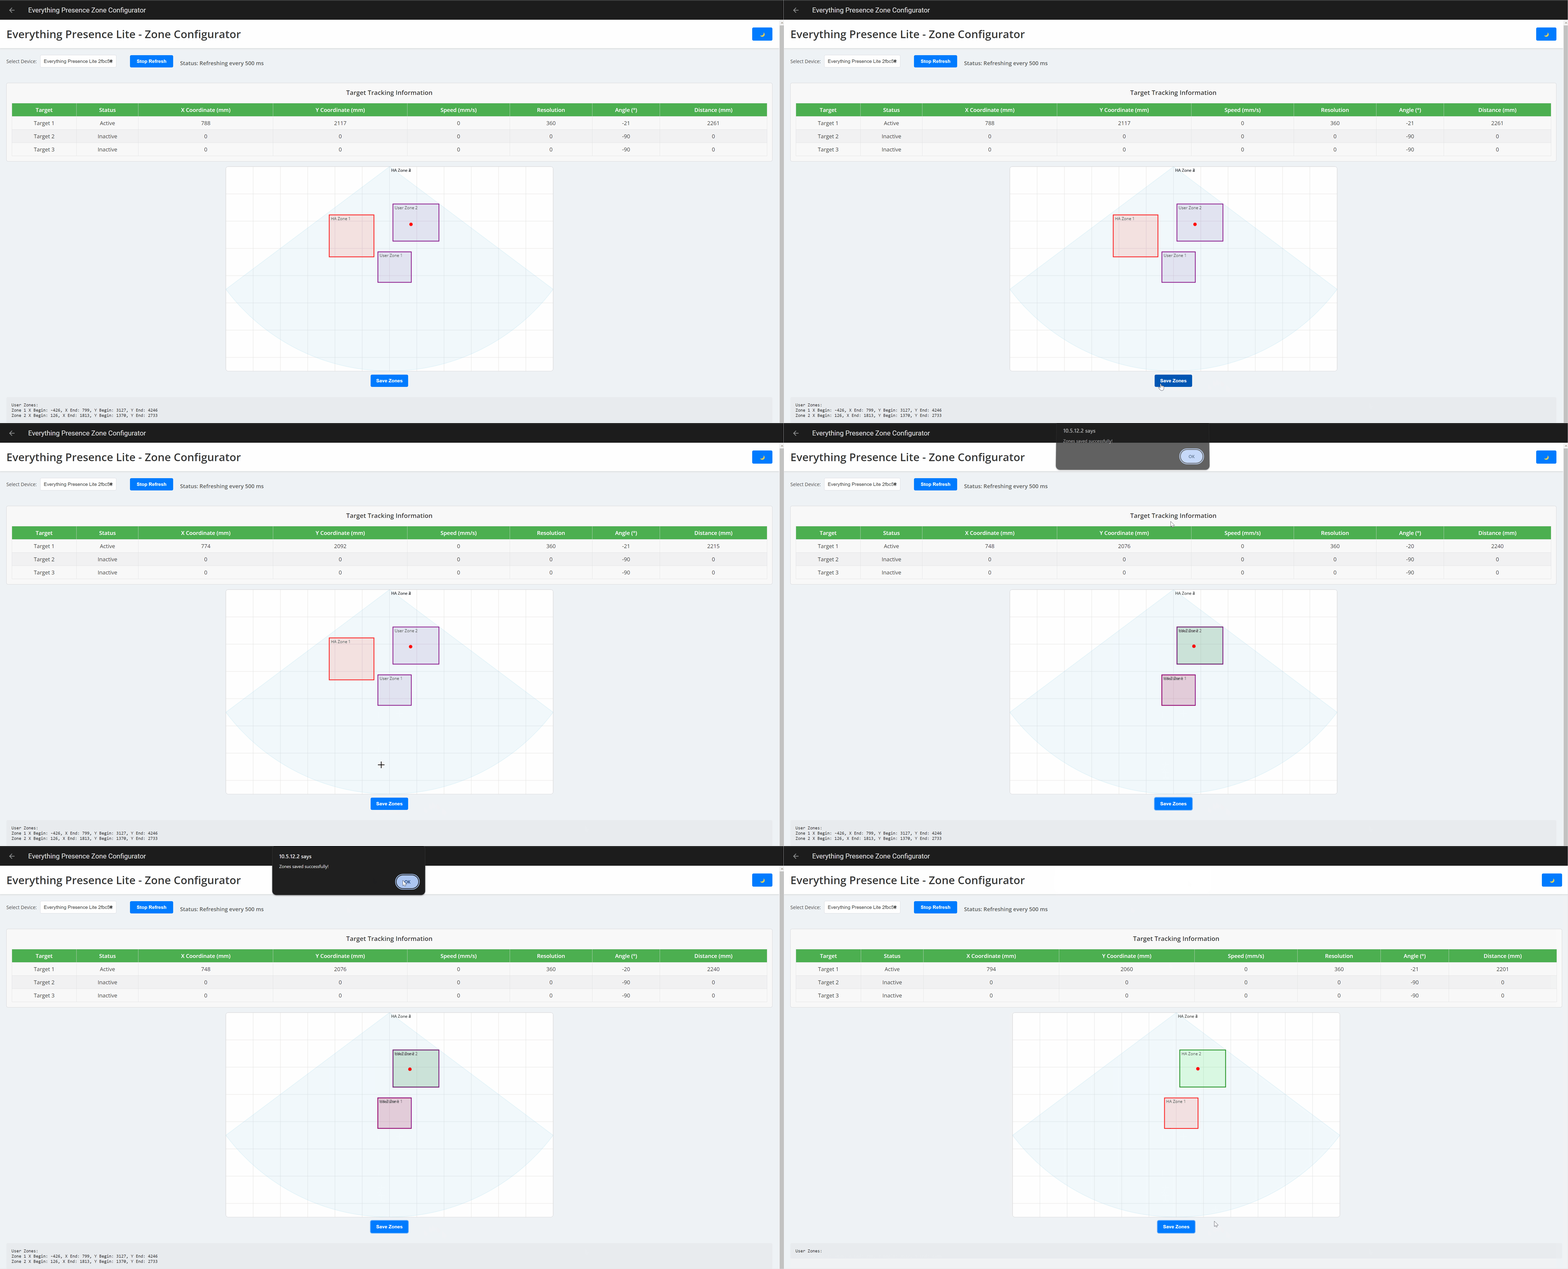
- Open the Zone Configurator from the Home Assistant sidebar
- Select your EPL device using the Setup Wizard
- Click the menu (☰) and select Zone Editor
- Click Show Zone Slots and enable Zone 1
- Drag and resize the zone on the canvas
- Click Save to Device
Zone Limits
The EPL supports:
- 4 detection zones (Zone 1-4)
- 2 exclusion zones (mask areas to ignore)
- 2 entry zones (for entry/exit detection)
Enabling Zones 2-4
By default, only Zone 1 is enabled to reduce the number of active entities. To enable zones 2-4:
- In Home Assistant, go to Settings → Devices & Services → ESPHome and select your EPL device
- In the "Controls" section, click Disabled Entities:

- Enable all 5 entities for each zone you want to use:
- Zone X Begin X
- Zone X Begin Y
- Zone X End X
- Zone X End Y
- Zone X Occupancy Off Delay
Polygon Zones (Advanced)
Info
Polygon zones require firmware version 1.4.0 or above. This is an advanced feature for users who need non-rectangular detection areas.
What are Polygon Zones?
Standard zones are rectangular. Polygon zones allow custom shapes with multiple vertices—useful for irregularly shaped rooms, angled furniture, or precise detection boundaries.
Enabling Polygon Zones
- In Home Assistant, navigate to your EPL device under Settings → Devices & Services → ESPHome
- Find the Polygon Zones switch and turn it on
- Use the Zone Editor in Polygon Mode to draw custom shapes
Available Polygon Entities
- Polygon Zone 1-4: Detection zones
- Polygon Exclusion 1-2: Areas to ignore
- Polygon Entry 1-2: Entry point definitions
Related Resources
- Zone Configurator Documentation - Full feature documentation
- Zone Configurator Troubleshooting - Common issues and solutions
- Zone Configurator FAQ - Frequently asked questions