Recording & Playback
Record and replay presence tracking sessions in Zone Configurator to review activity and inspect your configuration.
The Recording feature lets you capture target movement trails as a permanent visual path on the canvas. This is useful for visualizing movement patterns and debugging detection coverage.
Note: Recording is available for Everything Presence Lite (EPL) and Everything Presence Pro devices.
Why Use Recording?
Recording is useful for:
- Visualizing paths - See exactly where targets moved during a test
- Debugging coverage - Verify the sensor detects movement across the entire room
- Testing zones - Walk through zones and see if your path crosses zone boundaries correctly
- Tuning placement - Compare your actual walking path to where the sensor tracked you
Accessing Recording
The recording controls are located in the bottom left corner of the Live Dashboard.
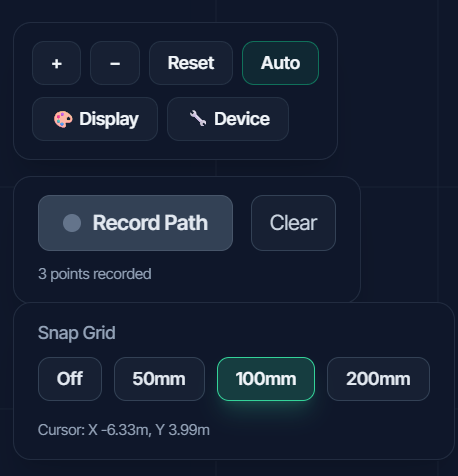
Starting a Recording
- Click the Record Path button
- The button changes to show recording is active with a pulsing red indicator
- Walk around the room - your movement is captured as a trail
- The point counter shows how many trail points have been recorded
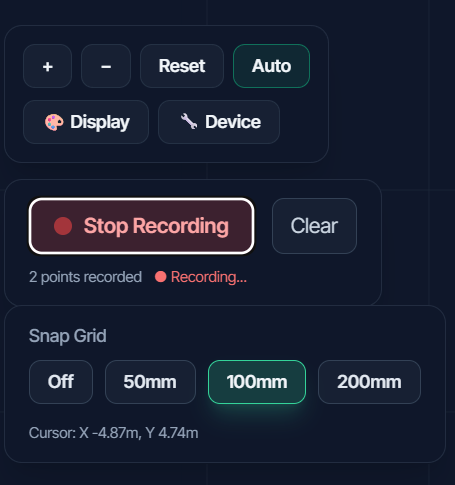
Stopping a Recording
- Click the Stop Recording button
- The captured trail remains visible on the canvas
- You can continue using the Live Dashboard with the trail displayed
Clearing the Trail
To remove the recorded trail:
- Click the Clear button (appears when a trail exists)
- The trail is removed from the canvas
Note: Clearing cannot be undone. The trail data is not saved anywhere.
Recording Tips
- Plan your test - Know what path you want to capture before starting
- Move at normal pace - Walk as you normally would for realistic results
- Cover problem areas - Focus on areas where detection seems inconsistent
- Keep it focused - Clear between tests to keep trails readable
Understanding the Trail
The recorded trail shows:
- Colored dots - Each dot represents a recorded position
- Connected path - Lines connect the dots showing movement direction
- Multiple targets - Different colors for each tracked target (up to 3)
Use Cases
Verifying Room Coverage
- Start recording
- Walk along the walls and through the center of the room
- Stop recording
- Check if the trail covers all areas you walked
If parts of your path are missing, those areas may have detection gaps.
Testing Zone Boundaries
- Start recording
- Walk in and out of a zone several times
- Stop recording
- Compare your trail to the zone boundaries
This helps verify zones are positioned correctly.
Checking Tracking Accuracy
- Start recording
- Walk a deliberate path (e.g., along a wall or around furniture)
- Stop recording
- Compare the recorded trail to your actual path
Large deviations may indicate the sensor needs repositioning or rotation adjustment.
Limitations
- No persistent storage - Trails are not saved and are lost when you leave the page or clear them
- No playback - You cannot replay the movement; the trail is a static visualization
- No export - Trails cannot be exported or shared
- Session only - Each recording session starts fresh
Next Steps
- Troubleshooting - Fix common issues
- Zone Editor - Adjust zones based on findings
- Heatmap & Analytics - View aggregate movement patterns over time