Settings & Room Management
Manage rooms and settings in Zone Configurator. Organise your configurations and adjust the options for your installation.
The Settings page lets you manage rooms, configure display options, and import/export your configurations.
Accessing Settings
- From the Live Dashboard, click the menu icon (☰)
- Select Settings
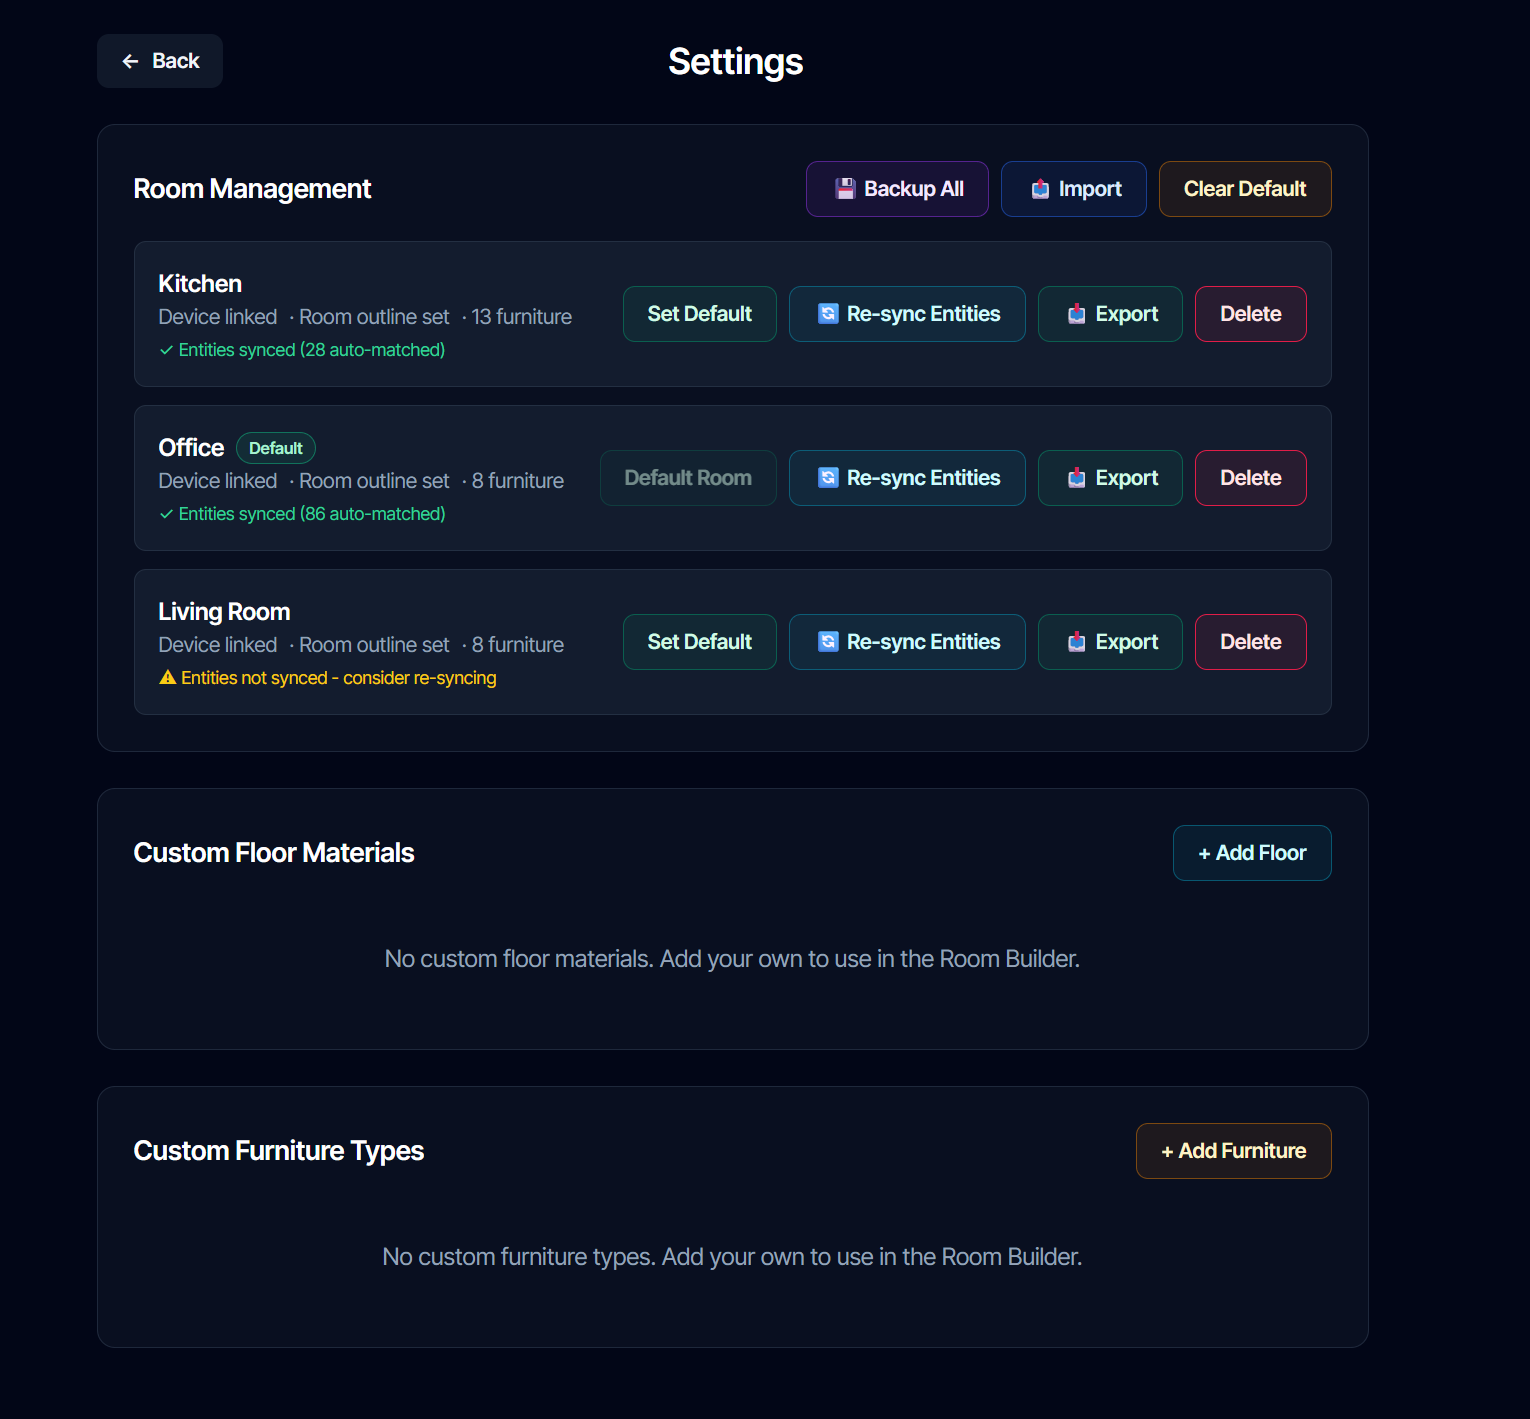
Room Management
Viewing Your Rooms
The Settings page lists all configured rooms with their associated devices.
| Column | Description |
|---|---|
| Room Name | The name you gave the room |
| Device | The EPL or EP1 assigned to this room |
| Status | Connected / Disconnected |
| Actions | Edit, Delete, Set as Default |
Renaming a Room
- Click the Edit button next to the room
- Enter the new room name
- Click Save
Deleting a Room
- Click the Delete button next to the room
- Confirm the deletion
Warning: Deleting a room removes all zone configurations, room layout, and settings for that room. This cannot be undone.
Setting the Default Room
The default room loads automatically when you open Zone Configurator.
- Click the star icon or Set as Default next to the desired room
- The star fills in to indicate the default
Display Settings
Customize how the Zone Configurator looks and behaves.
Dark Mode
Toggle between light and dark themes:
- Find the Dark Mode toggle in Settings
- Click to switch themes
The setting persists across sessions.
Grid Settings
| Setting | Description |
|---|---|
| Show Grid | Display alignment grid in Room Builder |
| Grid Size | Spacing between grid lines (in cm) |
| Snap to Grid | Automatically align objects to grid |
Visualization Options
| Setting | Description |
|---|---|
| Show Trails | Display movement trails behind targets |
| Trail Length | How long trails persist (seconds) |
| Show FOV Cone | Display field-of-view visualization |
| Target Size | Size of target dots on the display |
Entity Management
Re-sync Entities
If your device's entities have changed (renamed device, firmware update, etc.), you may need to re-sync.
- Click Re-sync Entities
- Select the room/device to re-sync
- Wait for entity discovery to complete
- Verify the entity mappings are correct
When to Re-sync
Re-sync entities if you see:
- "Entity not found" warnings
- Missing sensor data on the dashboard
- Incorrect entity associations
- After renaming your device in Home Assistant
Firmware Updates
The Firmware Updates tab lets you check for updates, install the latest firmware, or reinstall/rollback from cached versions. Updates use the device's reported build configuration (no guessing) and show live progress during install and reboot.
Import / Export
Back up your configurations or transfer them to another system.
Exporting Configuration
- Click Export
- Choose what to export:
- All rooms
- Specific room
- Zones only
- Full configuration (rooms + zones + settings)
- Save the JSON file
Importing Configuration
- Click Import
- Select a previously exported JSON file
- Choose import options:
- Replace existing configuration
- Merge with existing
- Click Import
Note: Importing replaces entity mappings. You may need to re-sync entities after importing to a different Home Assistant instance.
What's Included in Export
| Item | Included |
|---|---|
| Room names | ✓ |
| Room layouts (walls, doors, furniture) | ✓ |
| Zone configurations | ✓ |
| Device positions | ✓ |
| Display settings | ✓ |
| Entity mappings | ✓ (but may need re-sync) |
Add-on Settings
Some settings are configured in the Home Assistant add-on configuration rather than inside Zone Configurator.
Accessing Add-on Settings
- Go to Settings → Add-ons → Zone Configurator
- Click the Configuration tab
Available Add-on Options
| Option | Description |
|---|---|
| Log Level | Set logging verbosity (info, debug, warning) |
| Firmware LAN Port | Port used for local firmware downloads (default 38080) |
Data Storage
Zone Configurator stores data in the Home Assistant add-on data directory:
- Room configurations
- Zone settings
- User preferences
This data persists across add-on updates. Uninstalling the add-on removes this data.
Next Steps
- Troubleshooting - Fix common issues
- Setup Wizard - Add another device
- FAQ - Quick answers