Everything Presence Lite — Case Assembly (Archive)
Follow the archived case assembly instructions for Everything Presence Lite. Check this guide against your hardware version before assembly.
Follow these steps to assemble the Everything Presence Lite hardware before setup.
If you have the fully assembled Everything Presence Lite with the injection-molded case, skip ahead to Connecting to Wi-Fi.
Assemble the Case
What you need
Gather the following components of the case:
- Back panel
- Ball joint
- Locking ring
- Stand
Insert the ball joint
- Insert the ball joint through the back of the case from the front side.\n
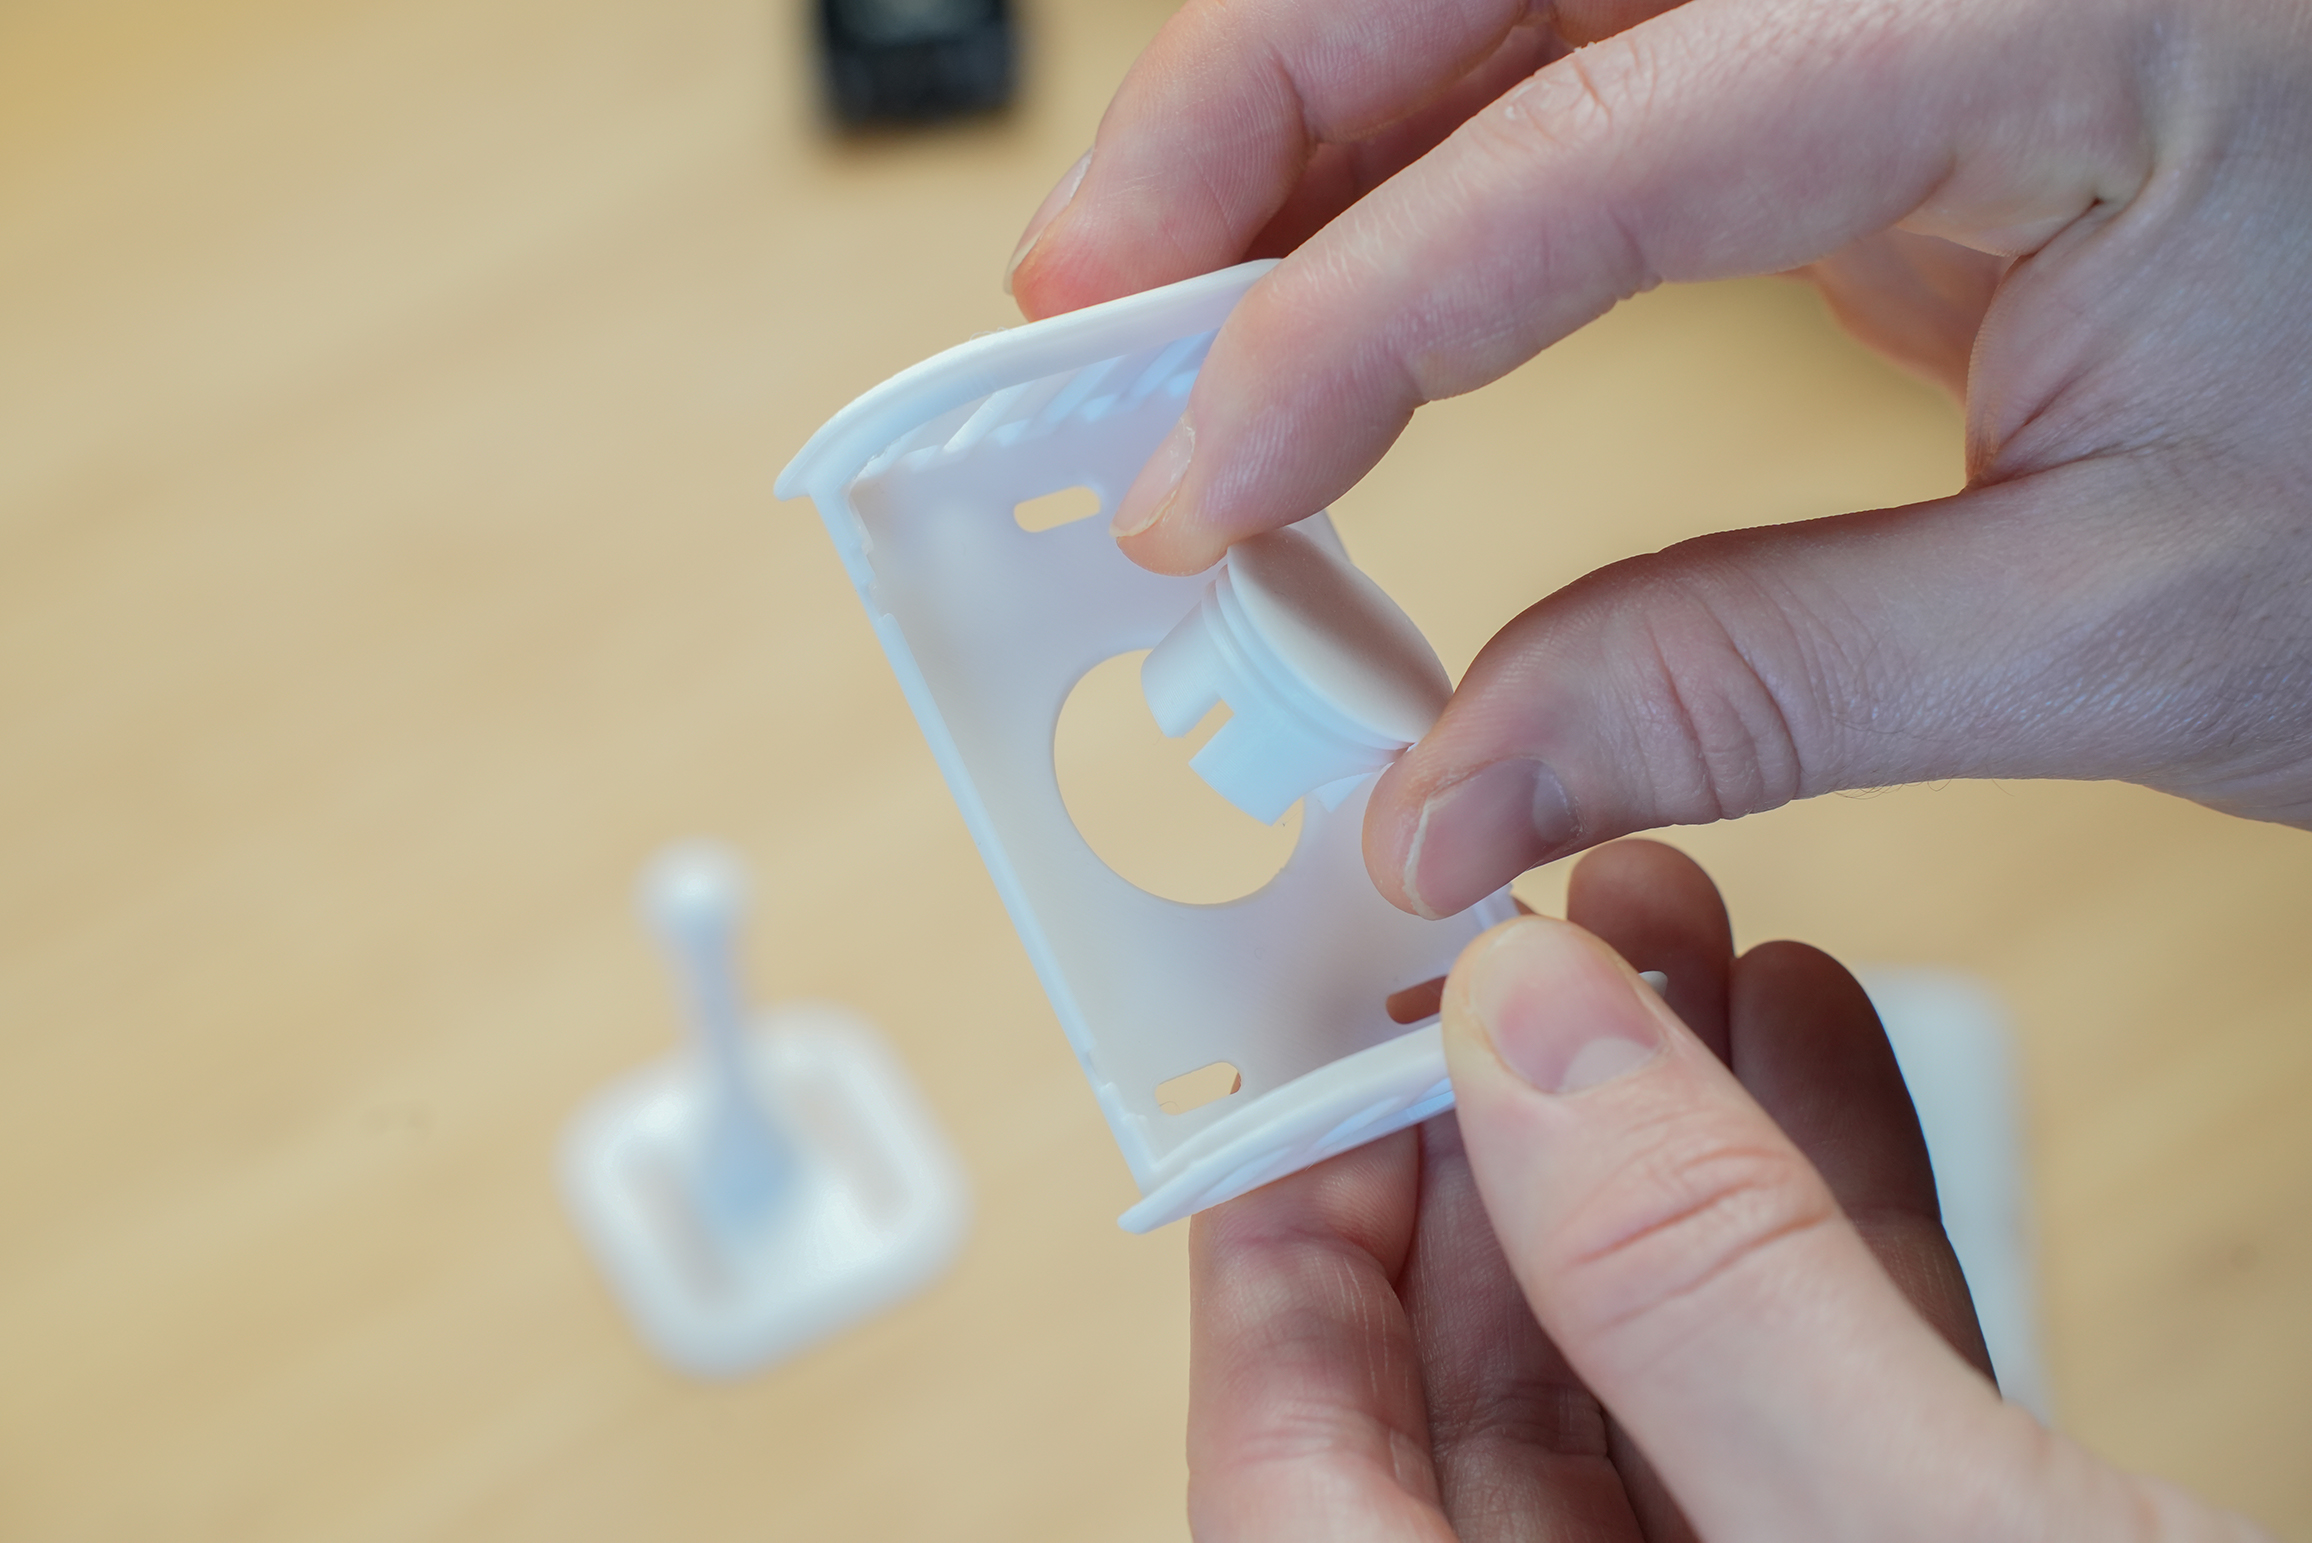
- Hold the ball joint in place and tighten it using the locking ring.\n
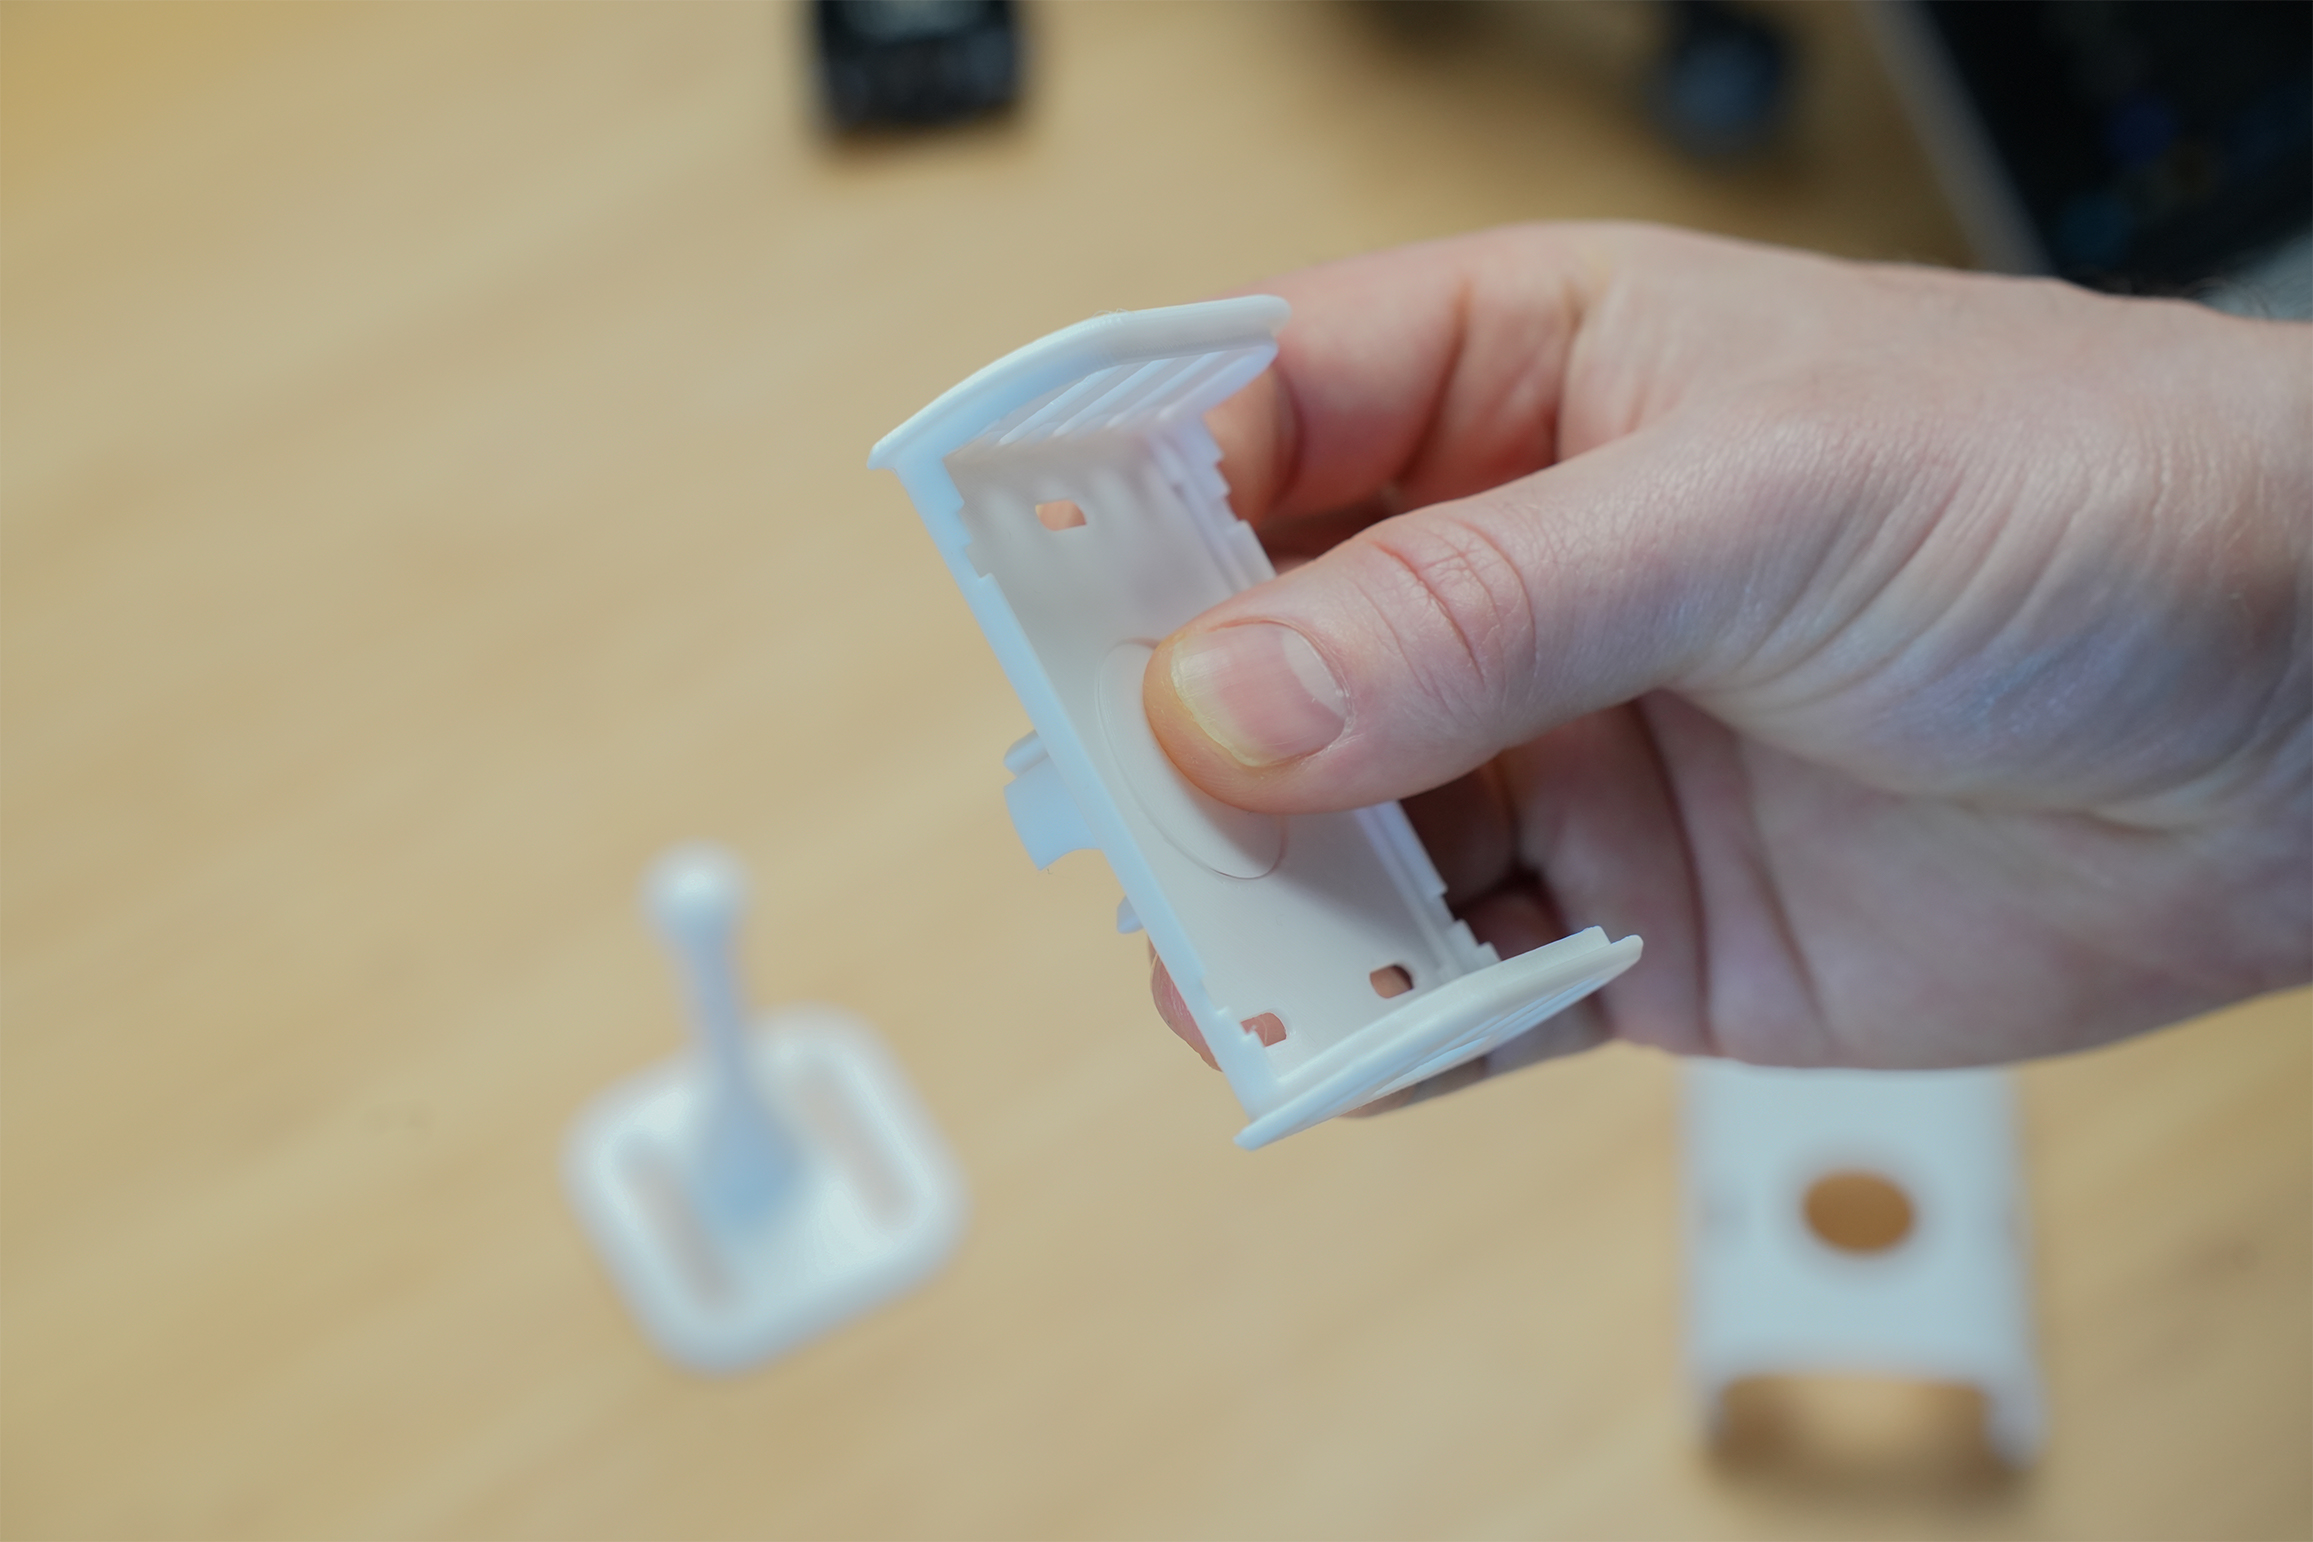
- Ensure the groove on the locking ring faces the back of the case.\n
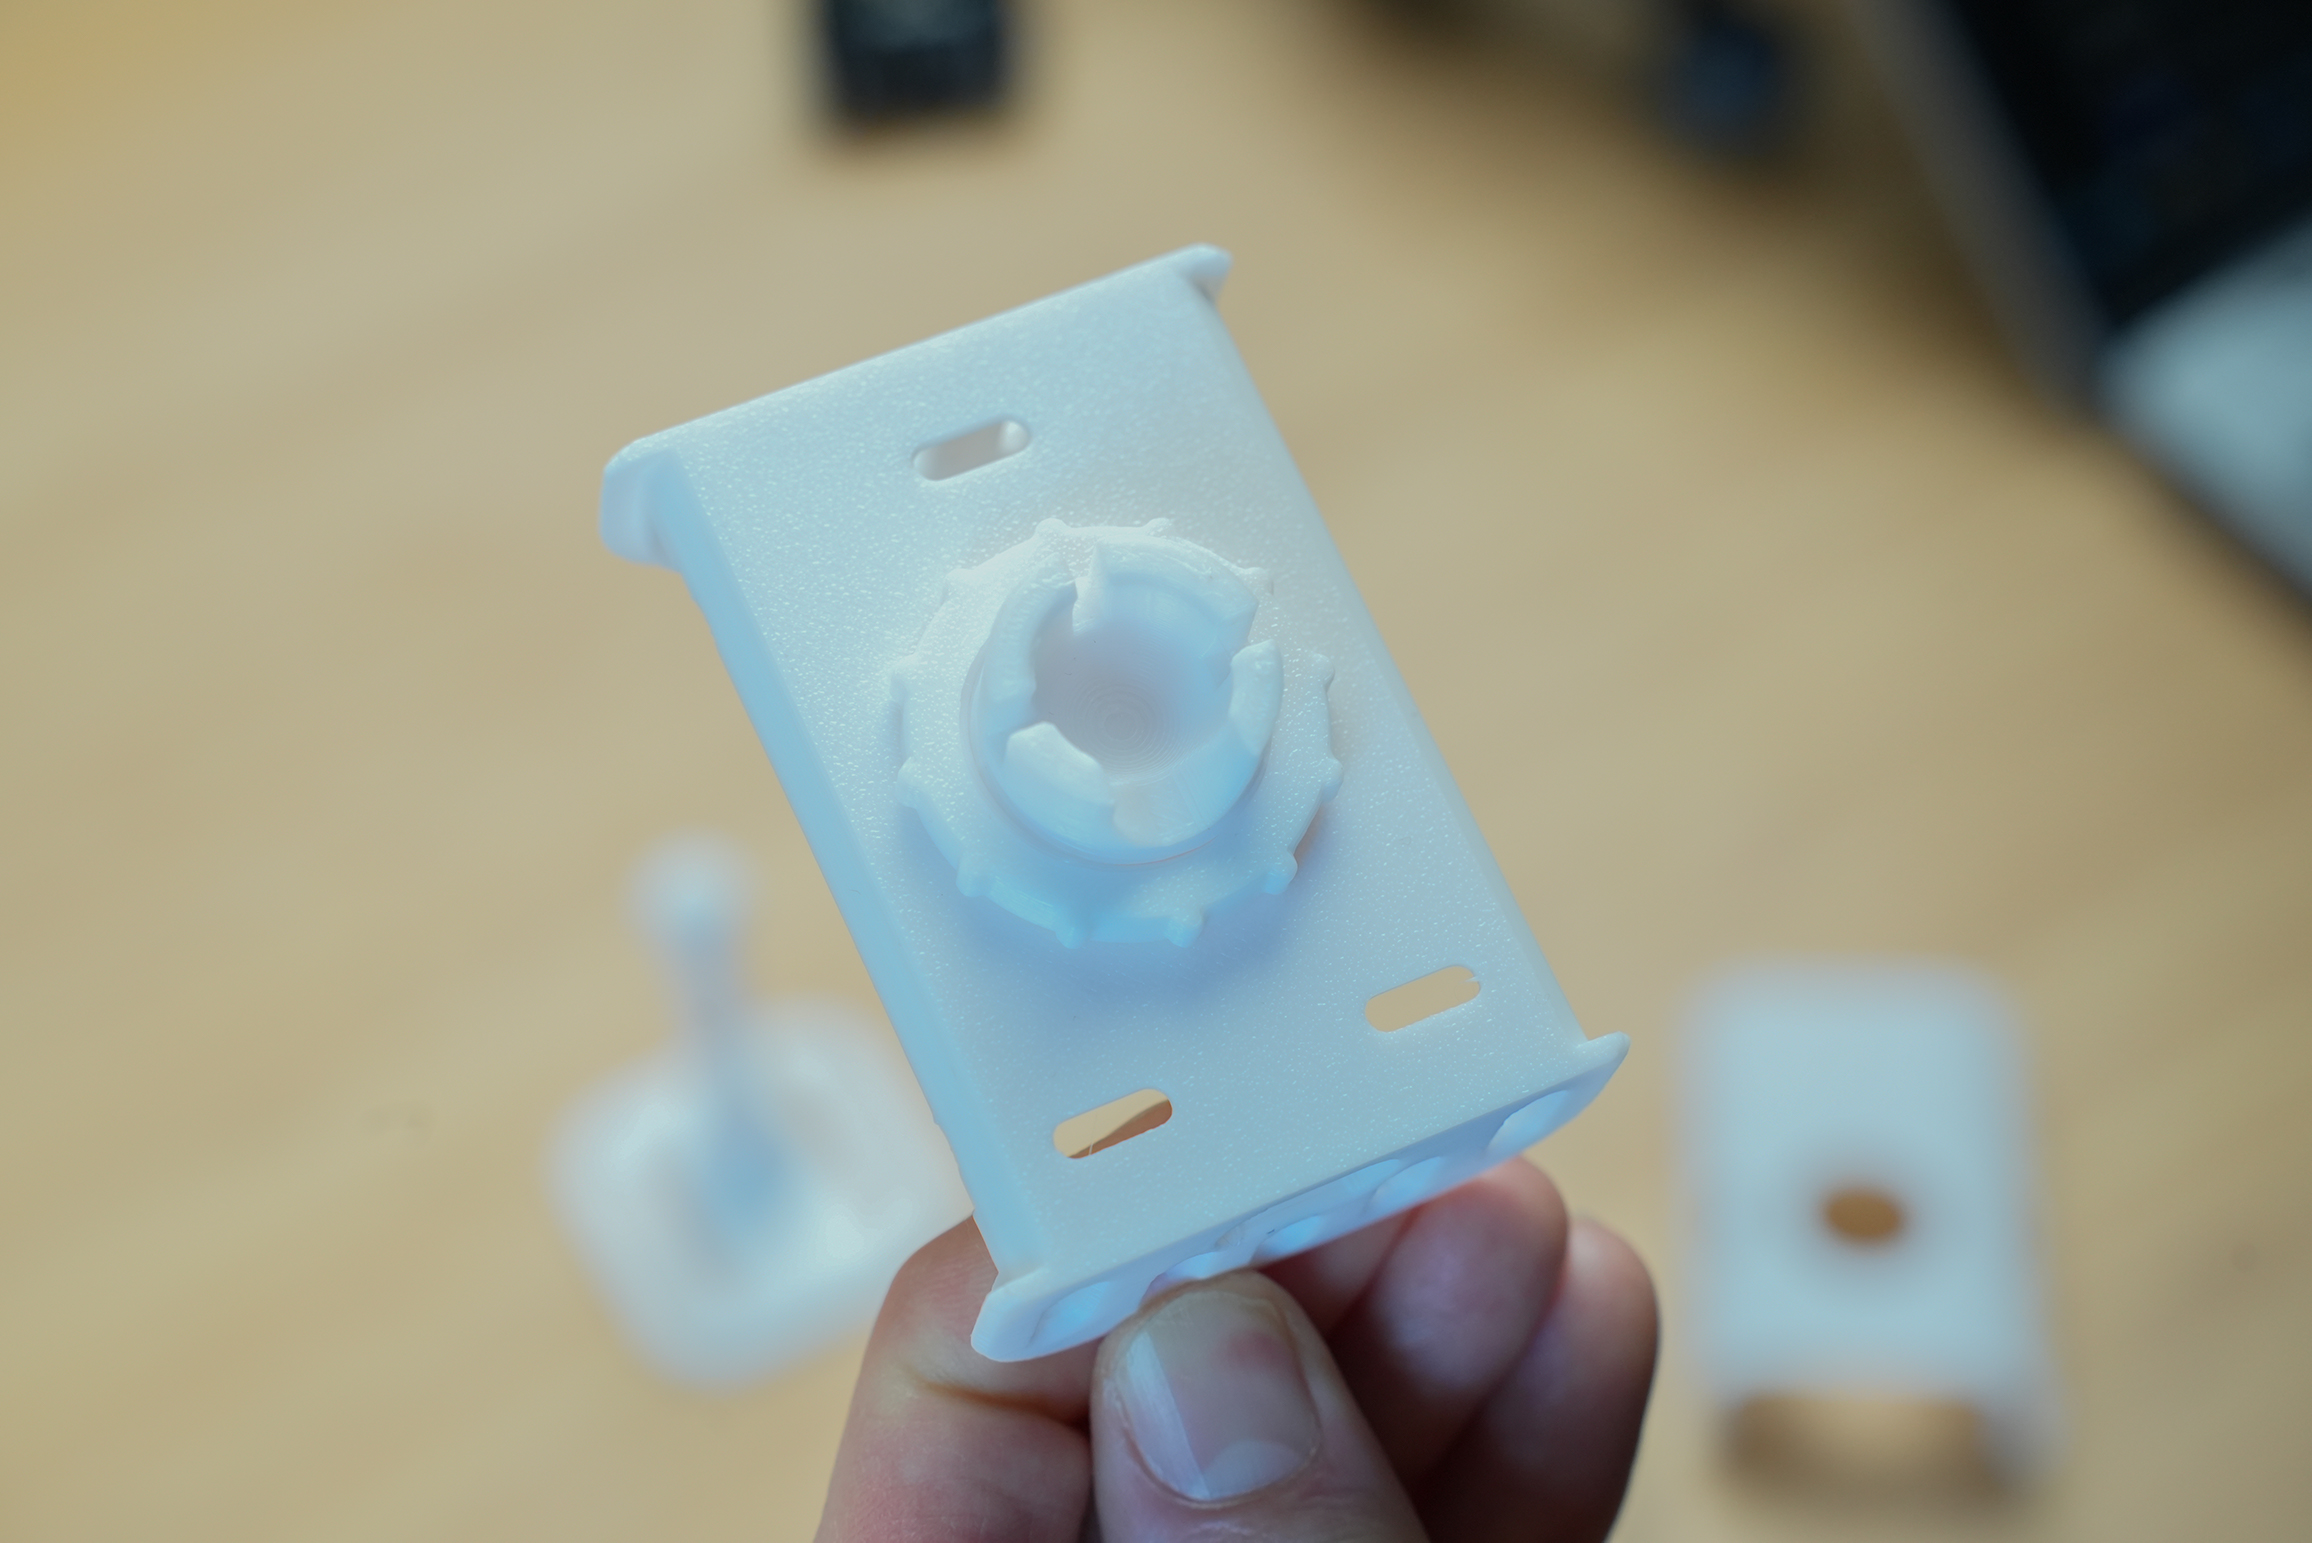
Tip
The ball joint is designed to be tight but will still rotate with enough force, allowing flexible positioning.
Install the Board and Sensors
What you need
- Everything Presence Lite board
- mmWave sensor
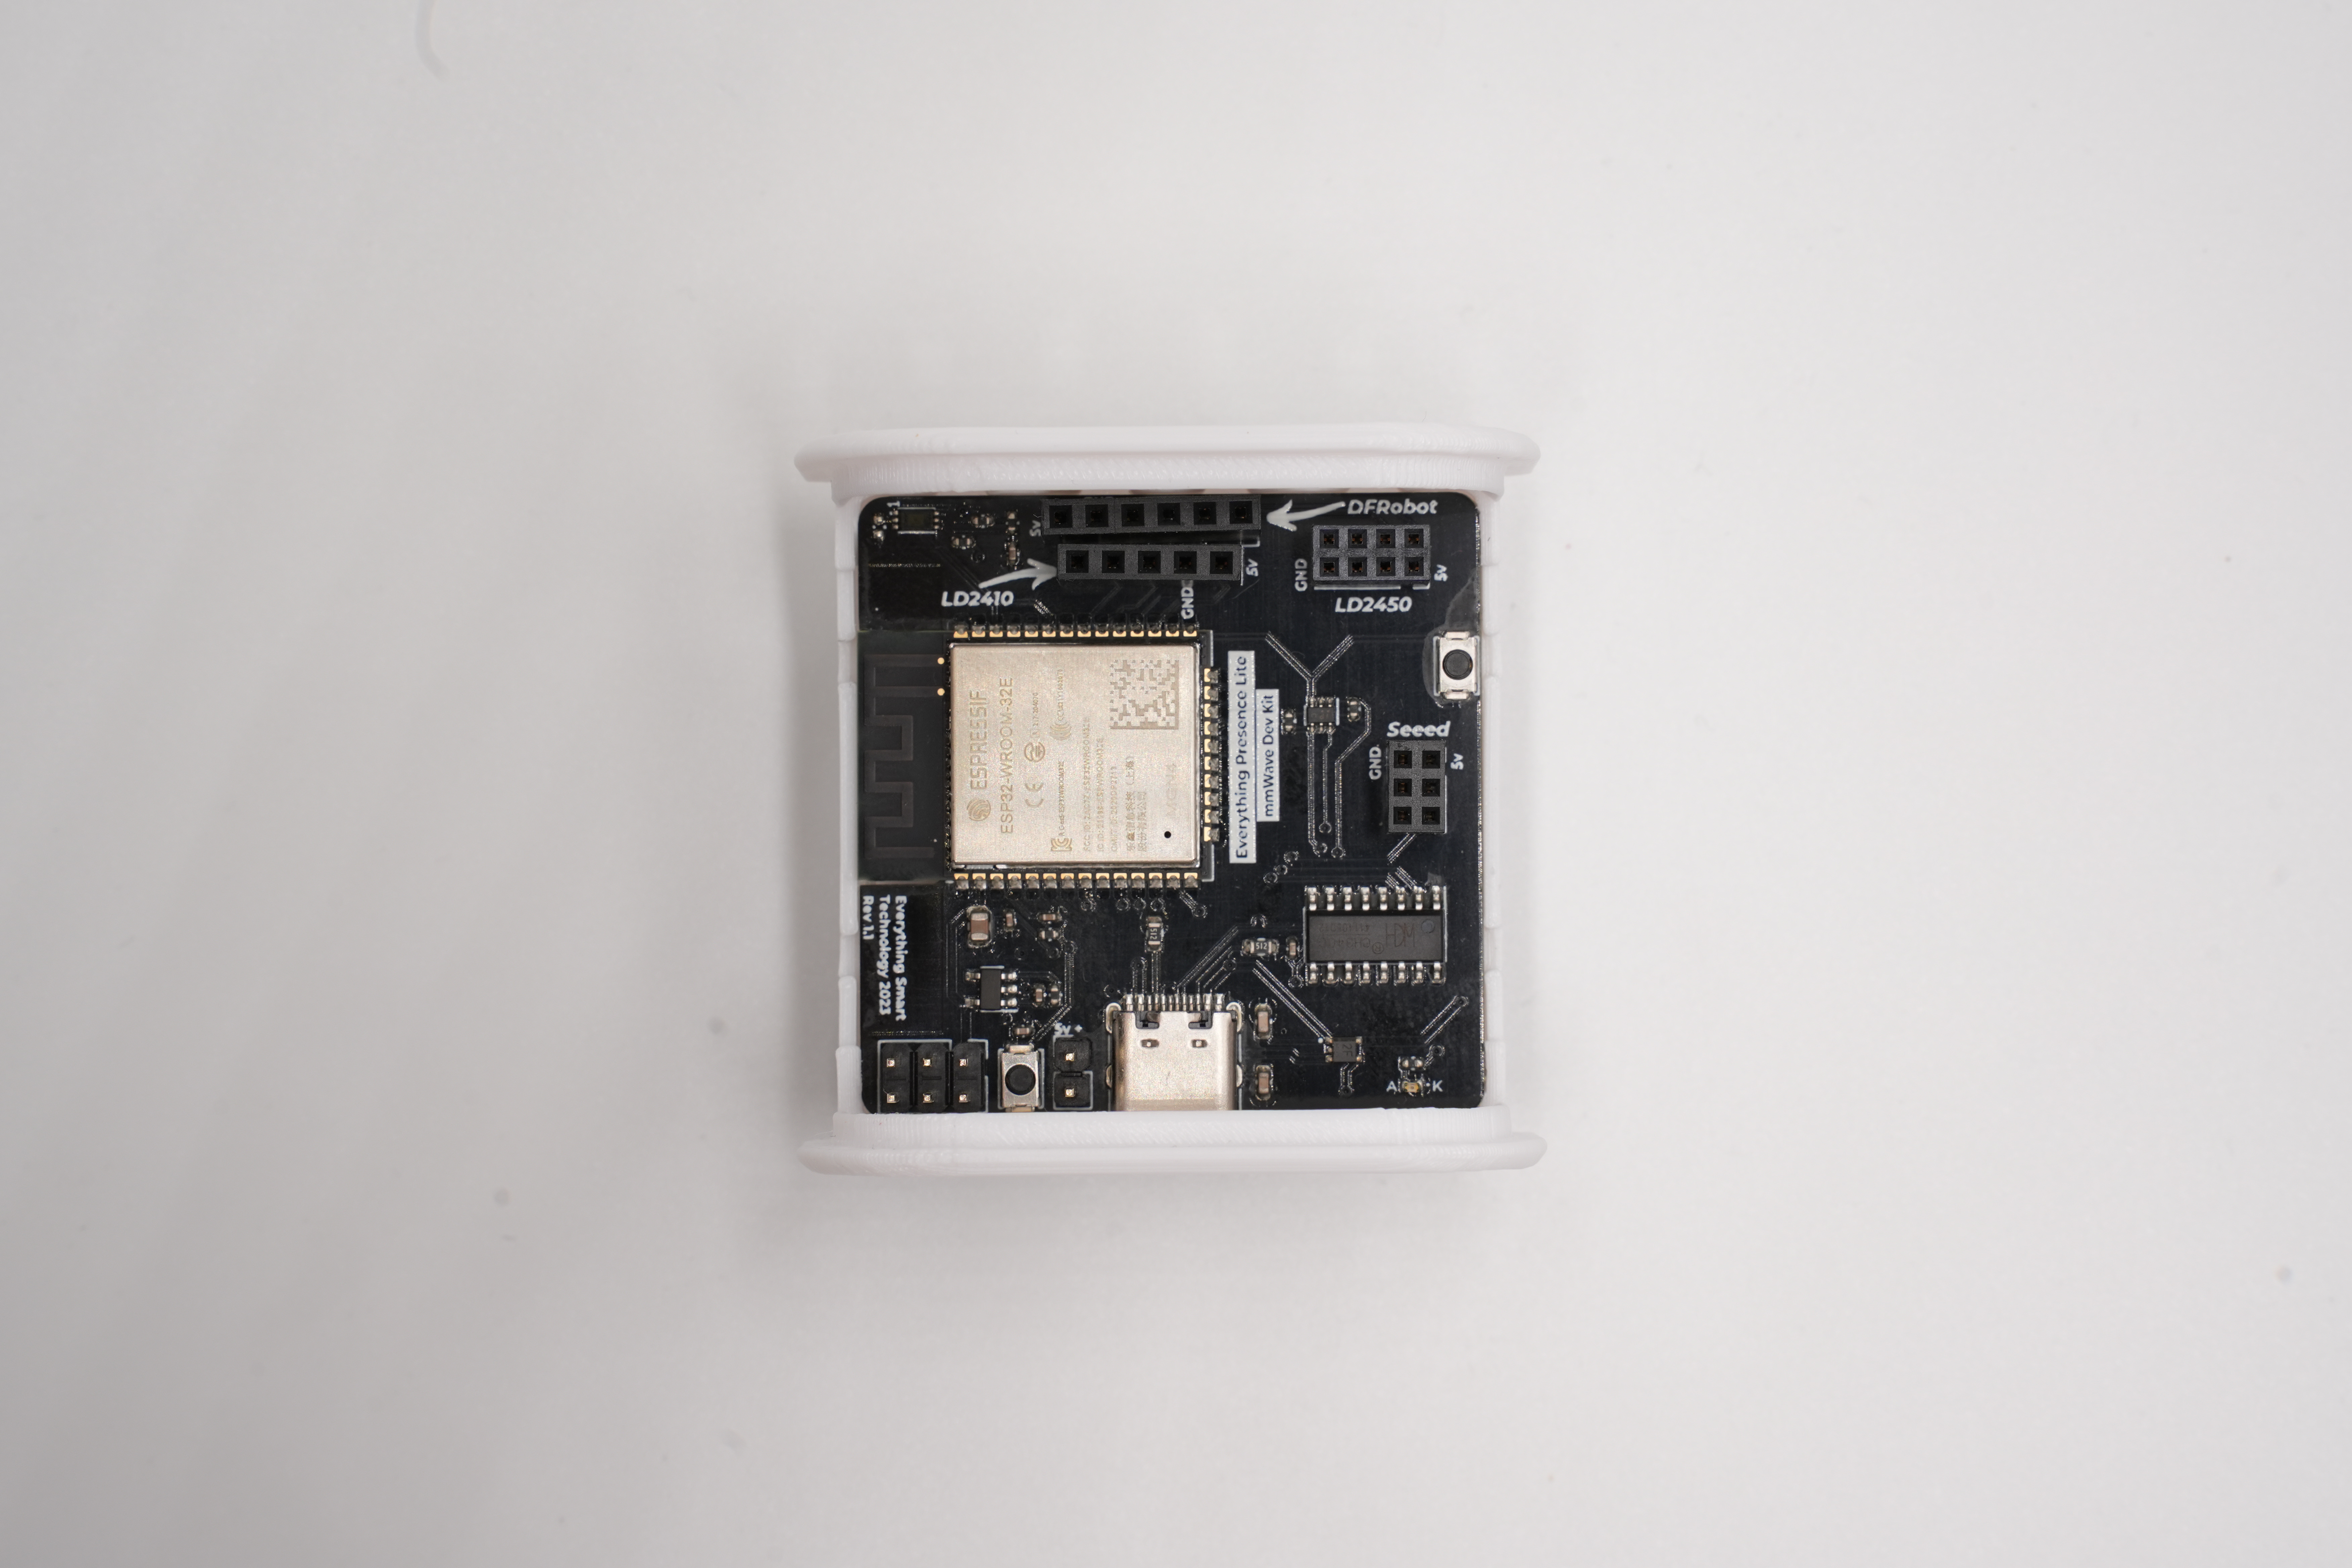
Install the Lite board
- Align the Lite board with the back of the case.\n
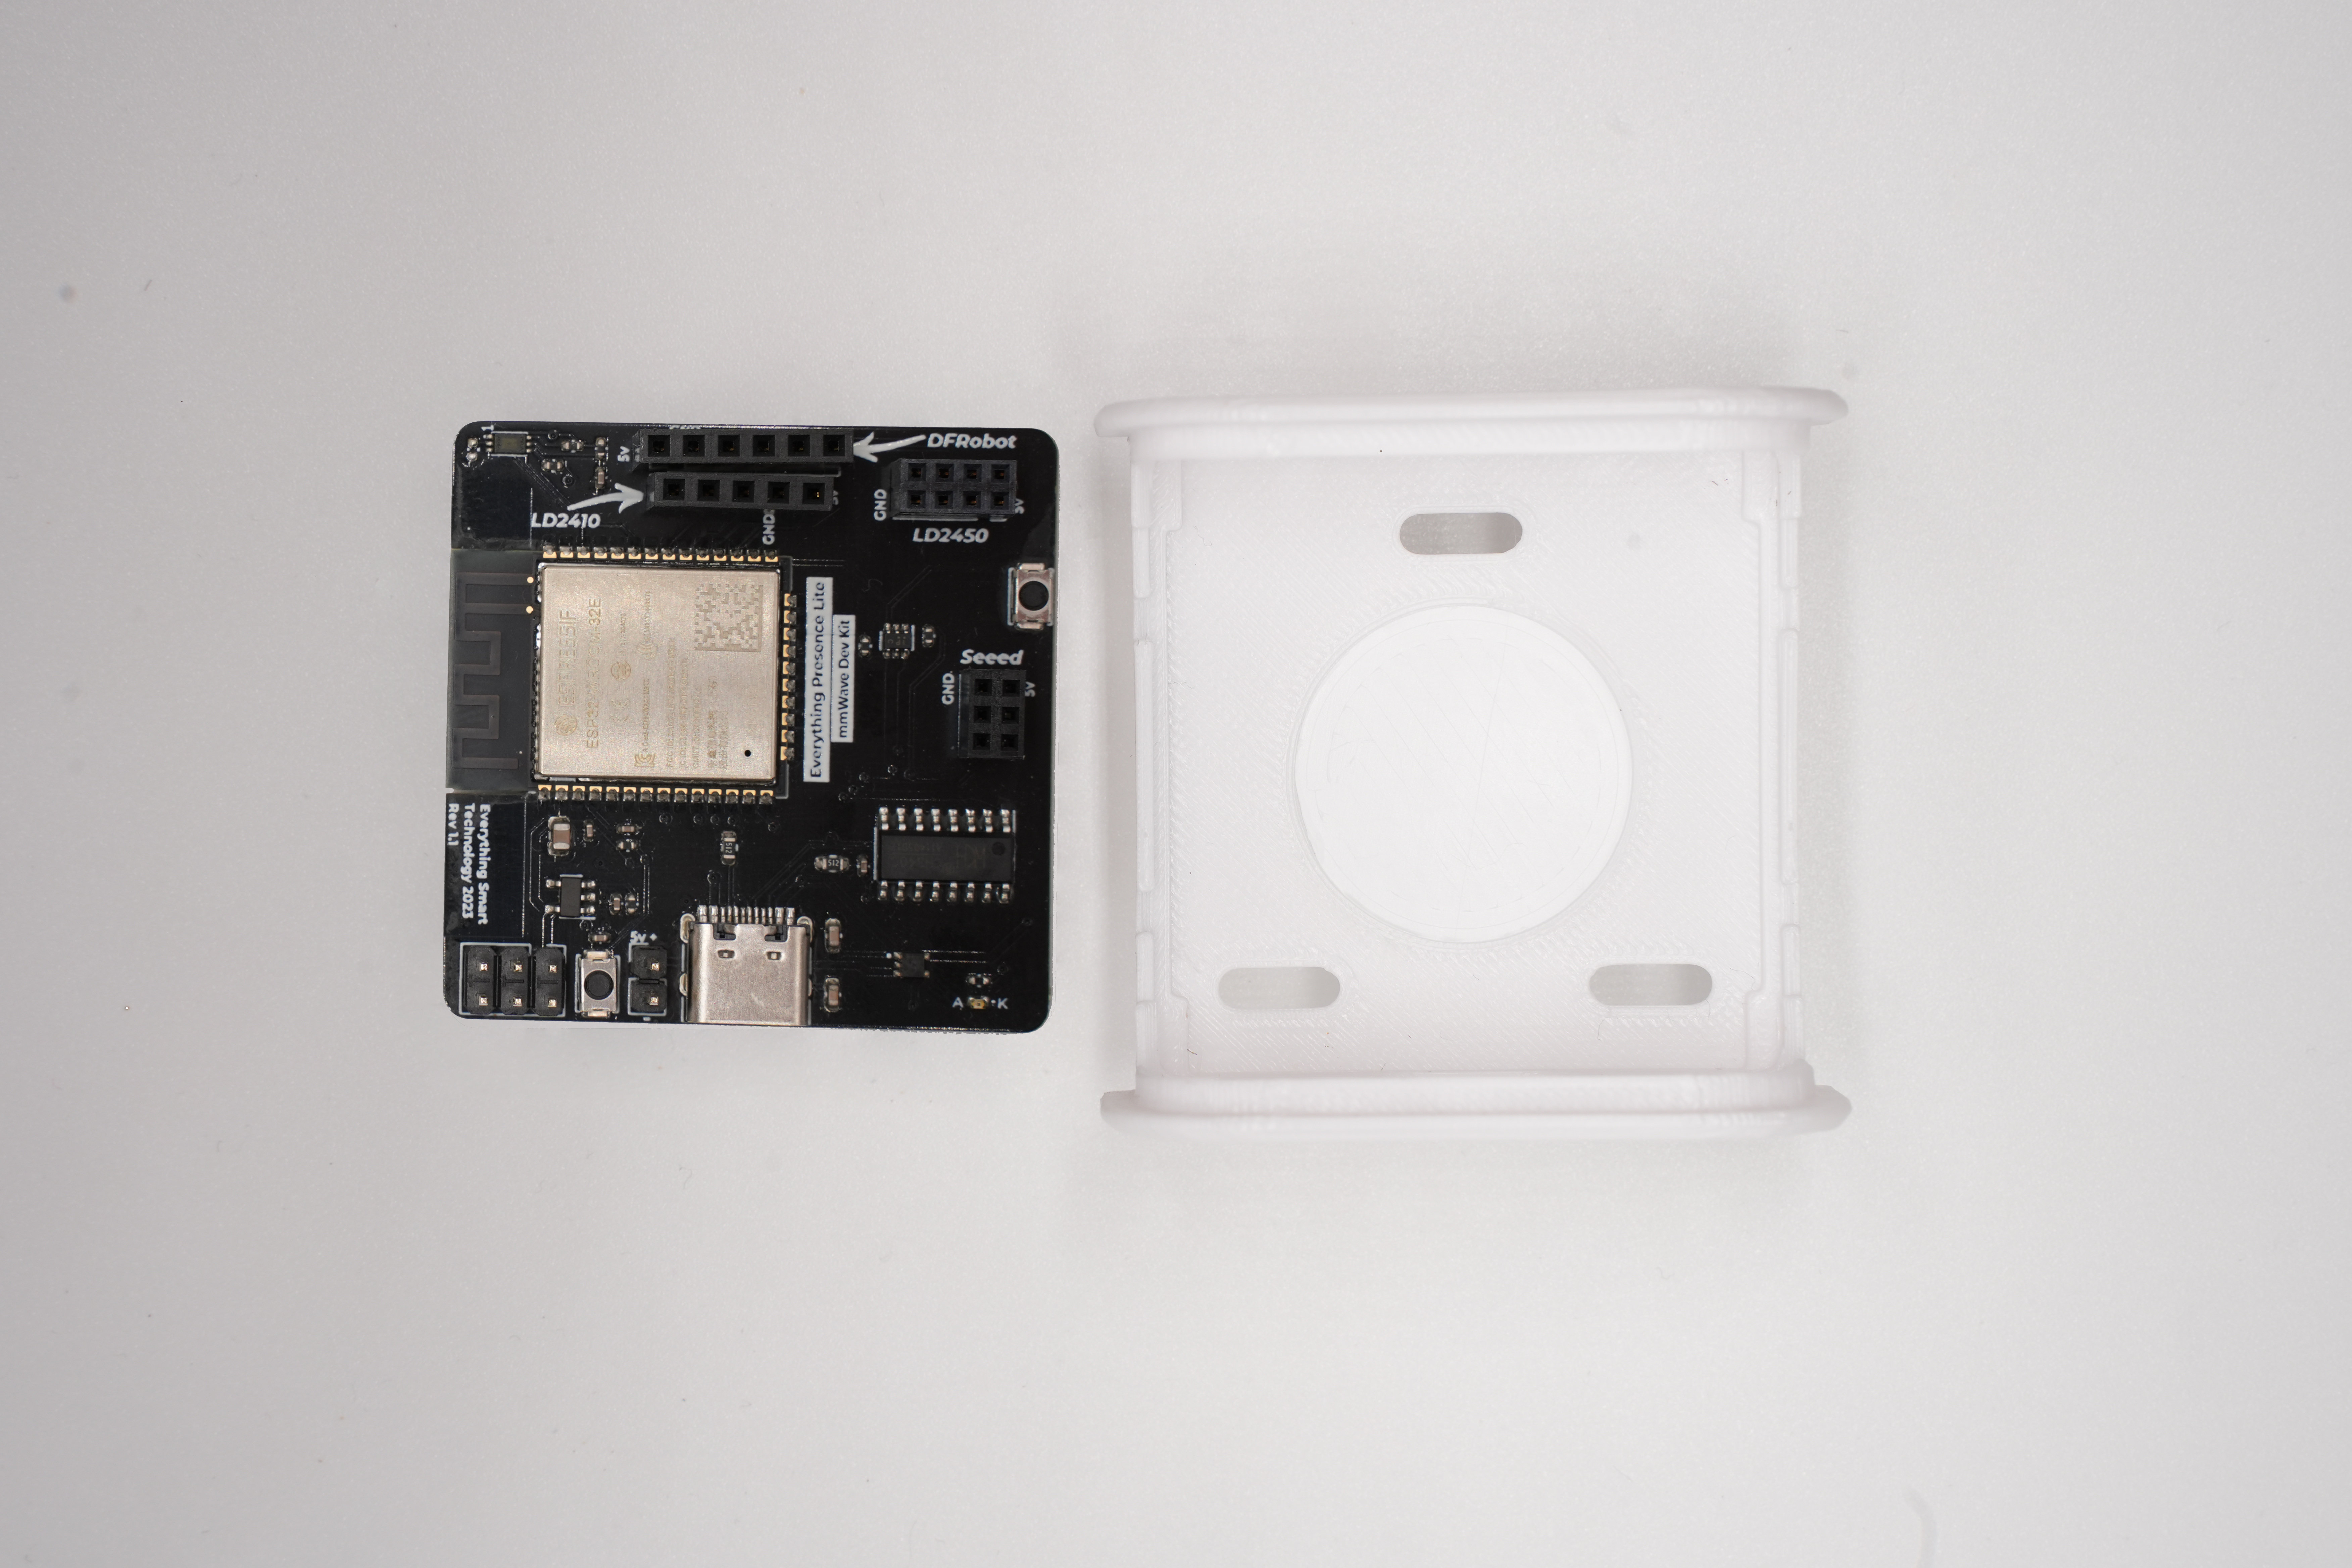
- Press it into place until all four corners click in securely.
Install the mmWave sensor
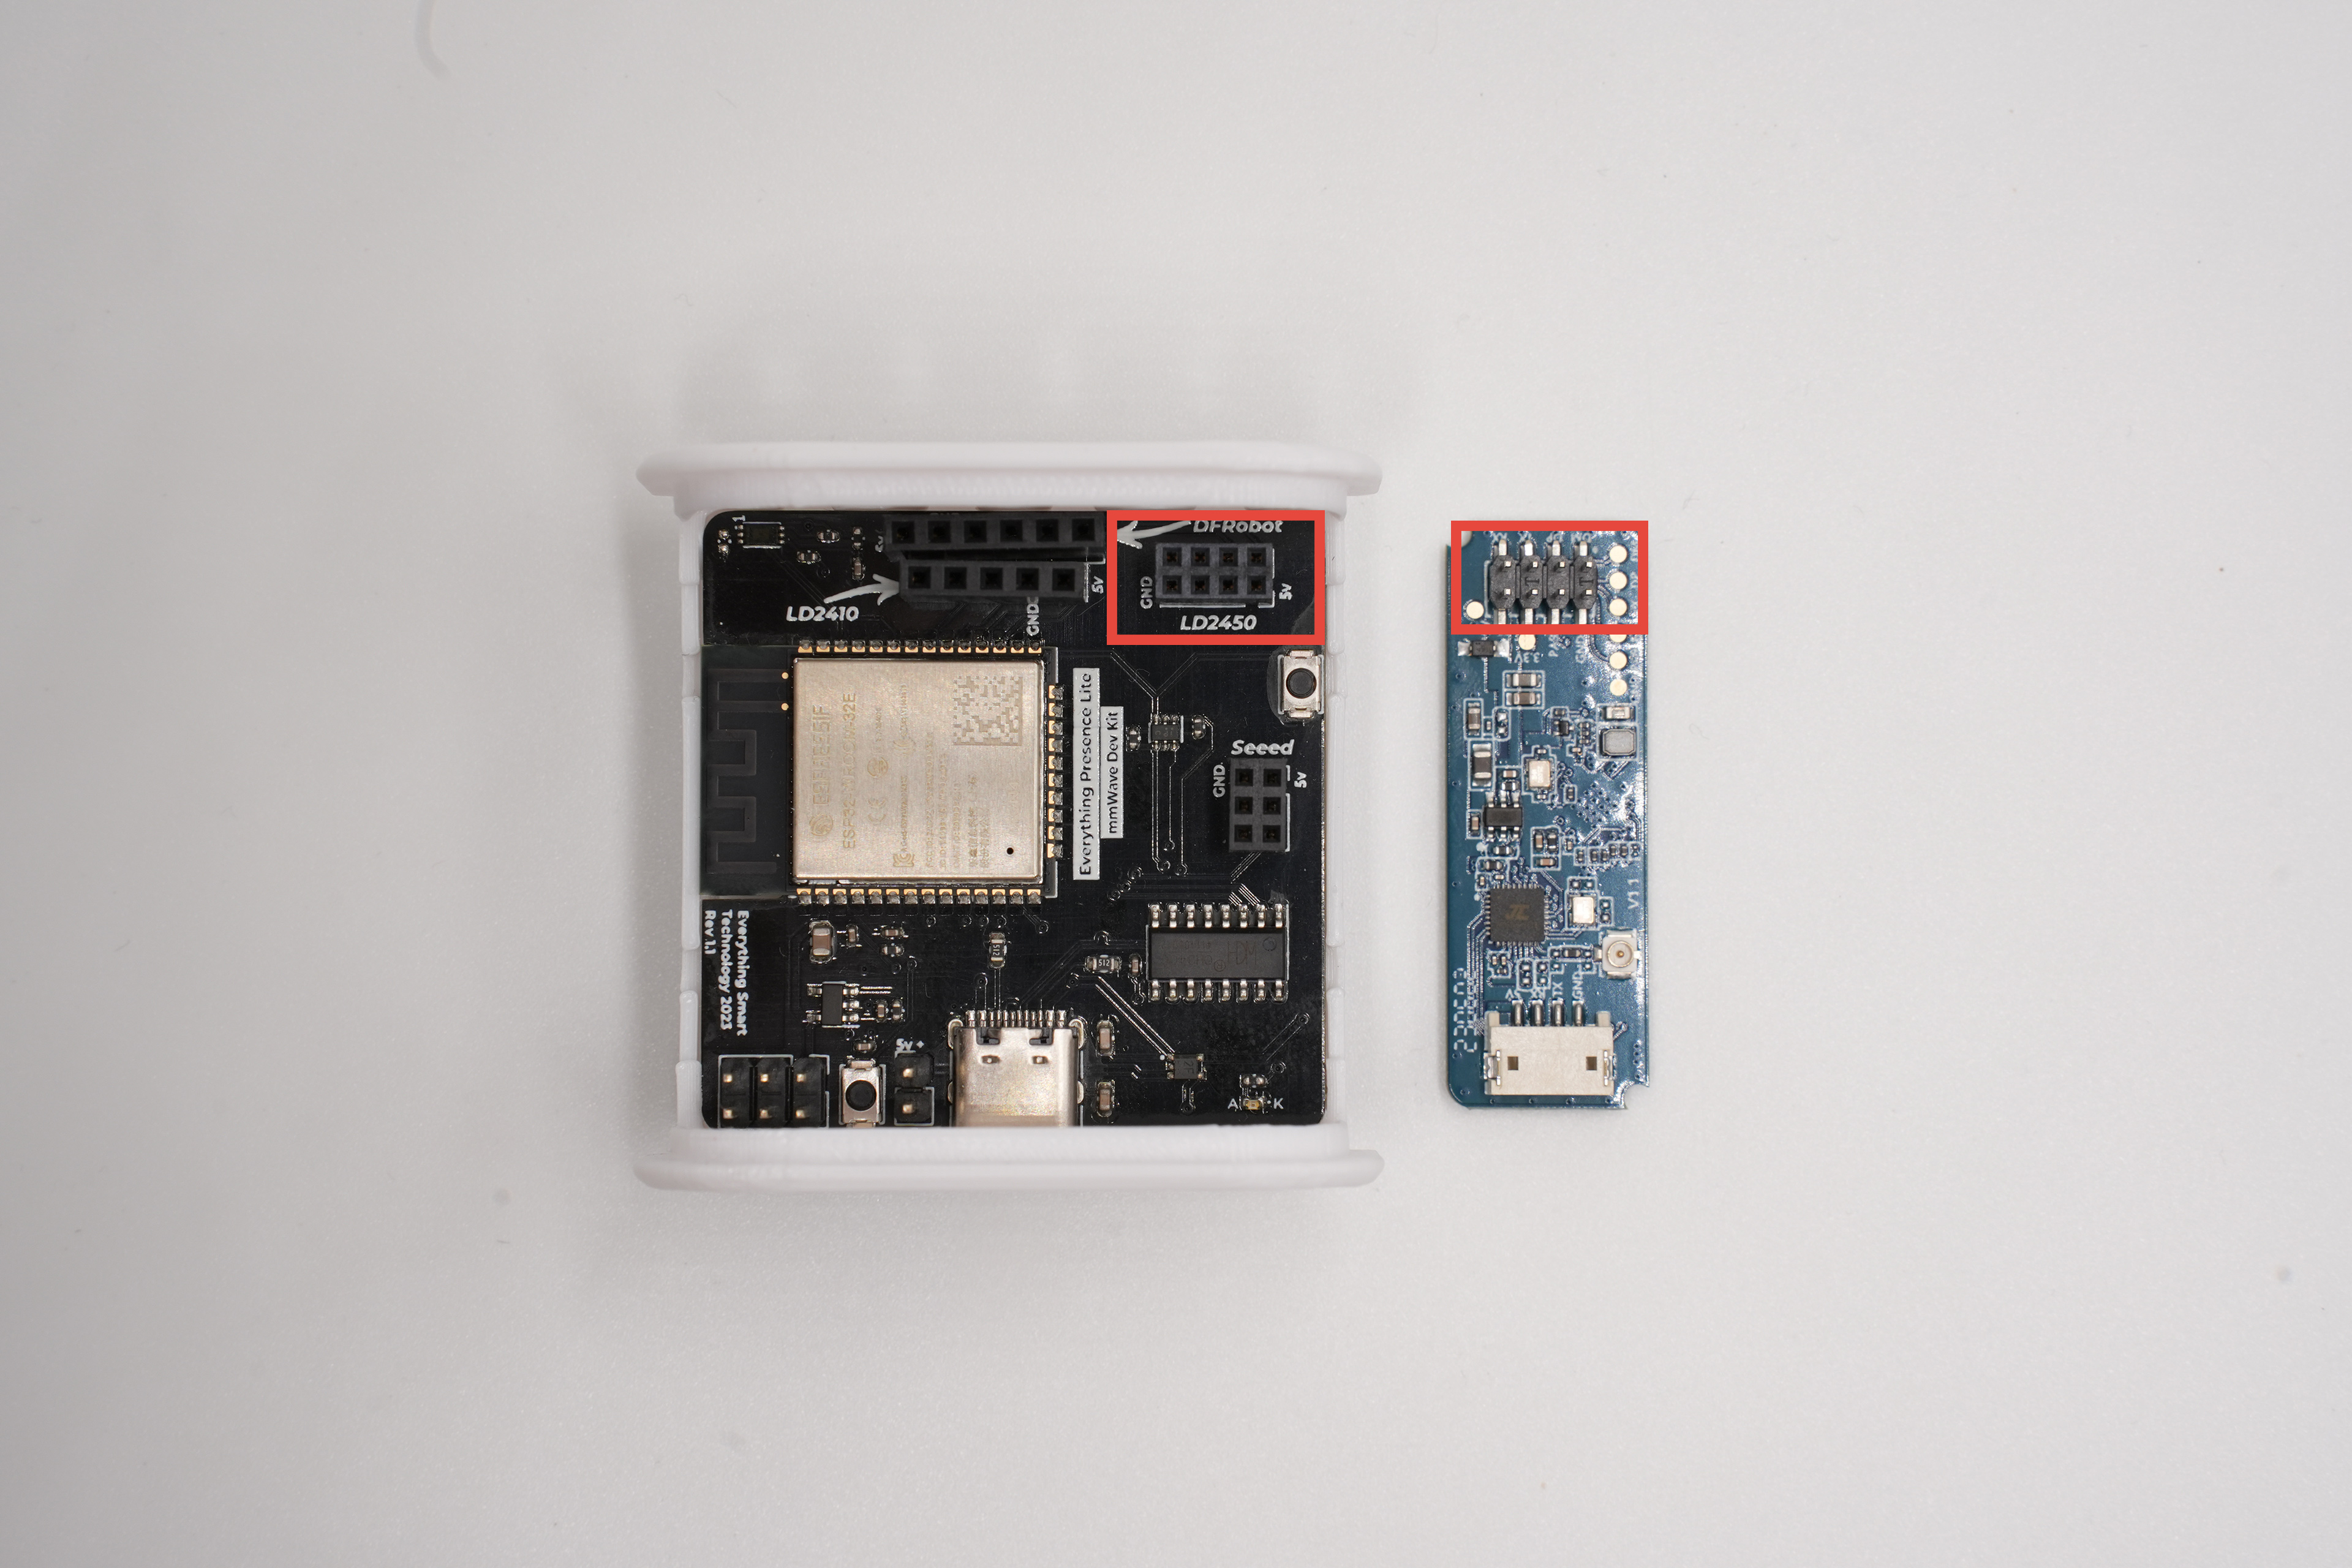
- Locate the slot labelled LD2450 in the top-right corner of the board.\n
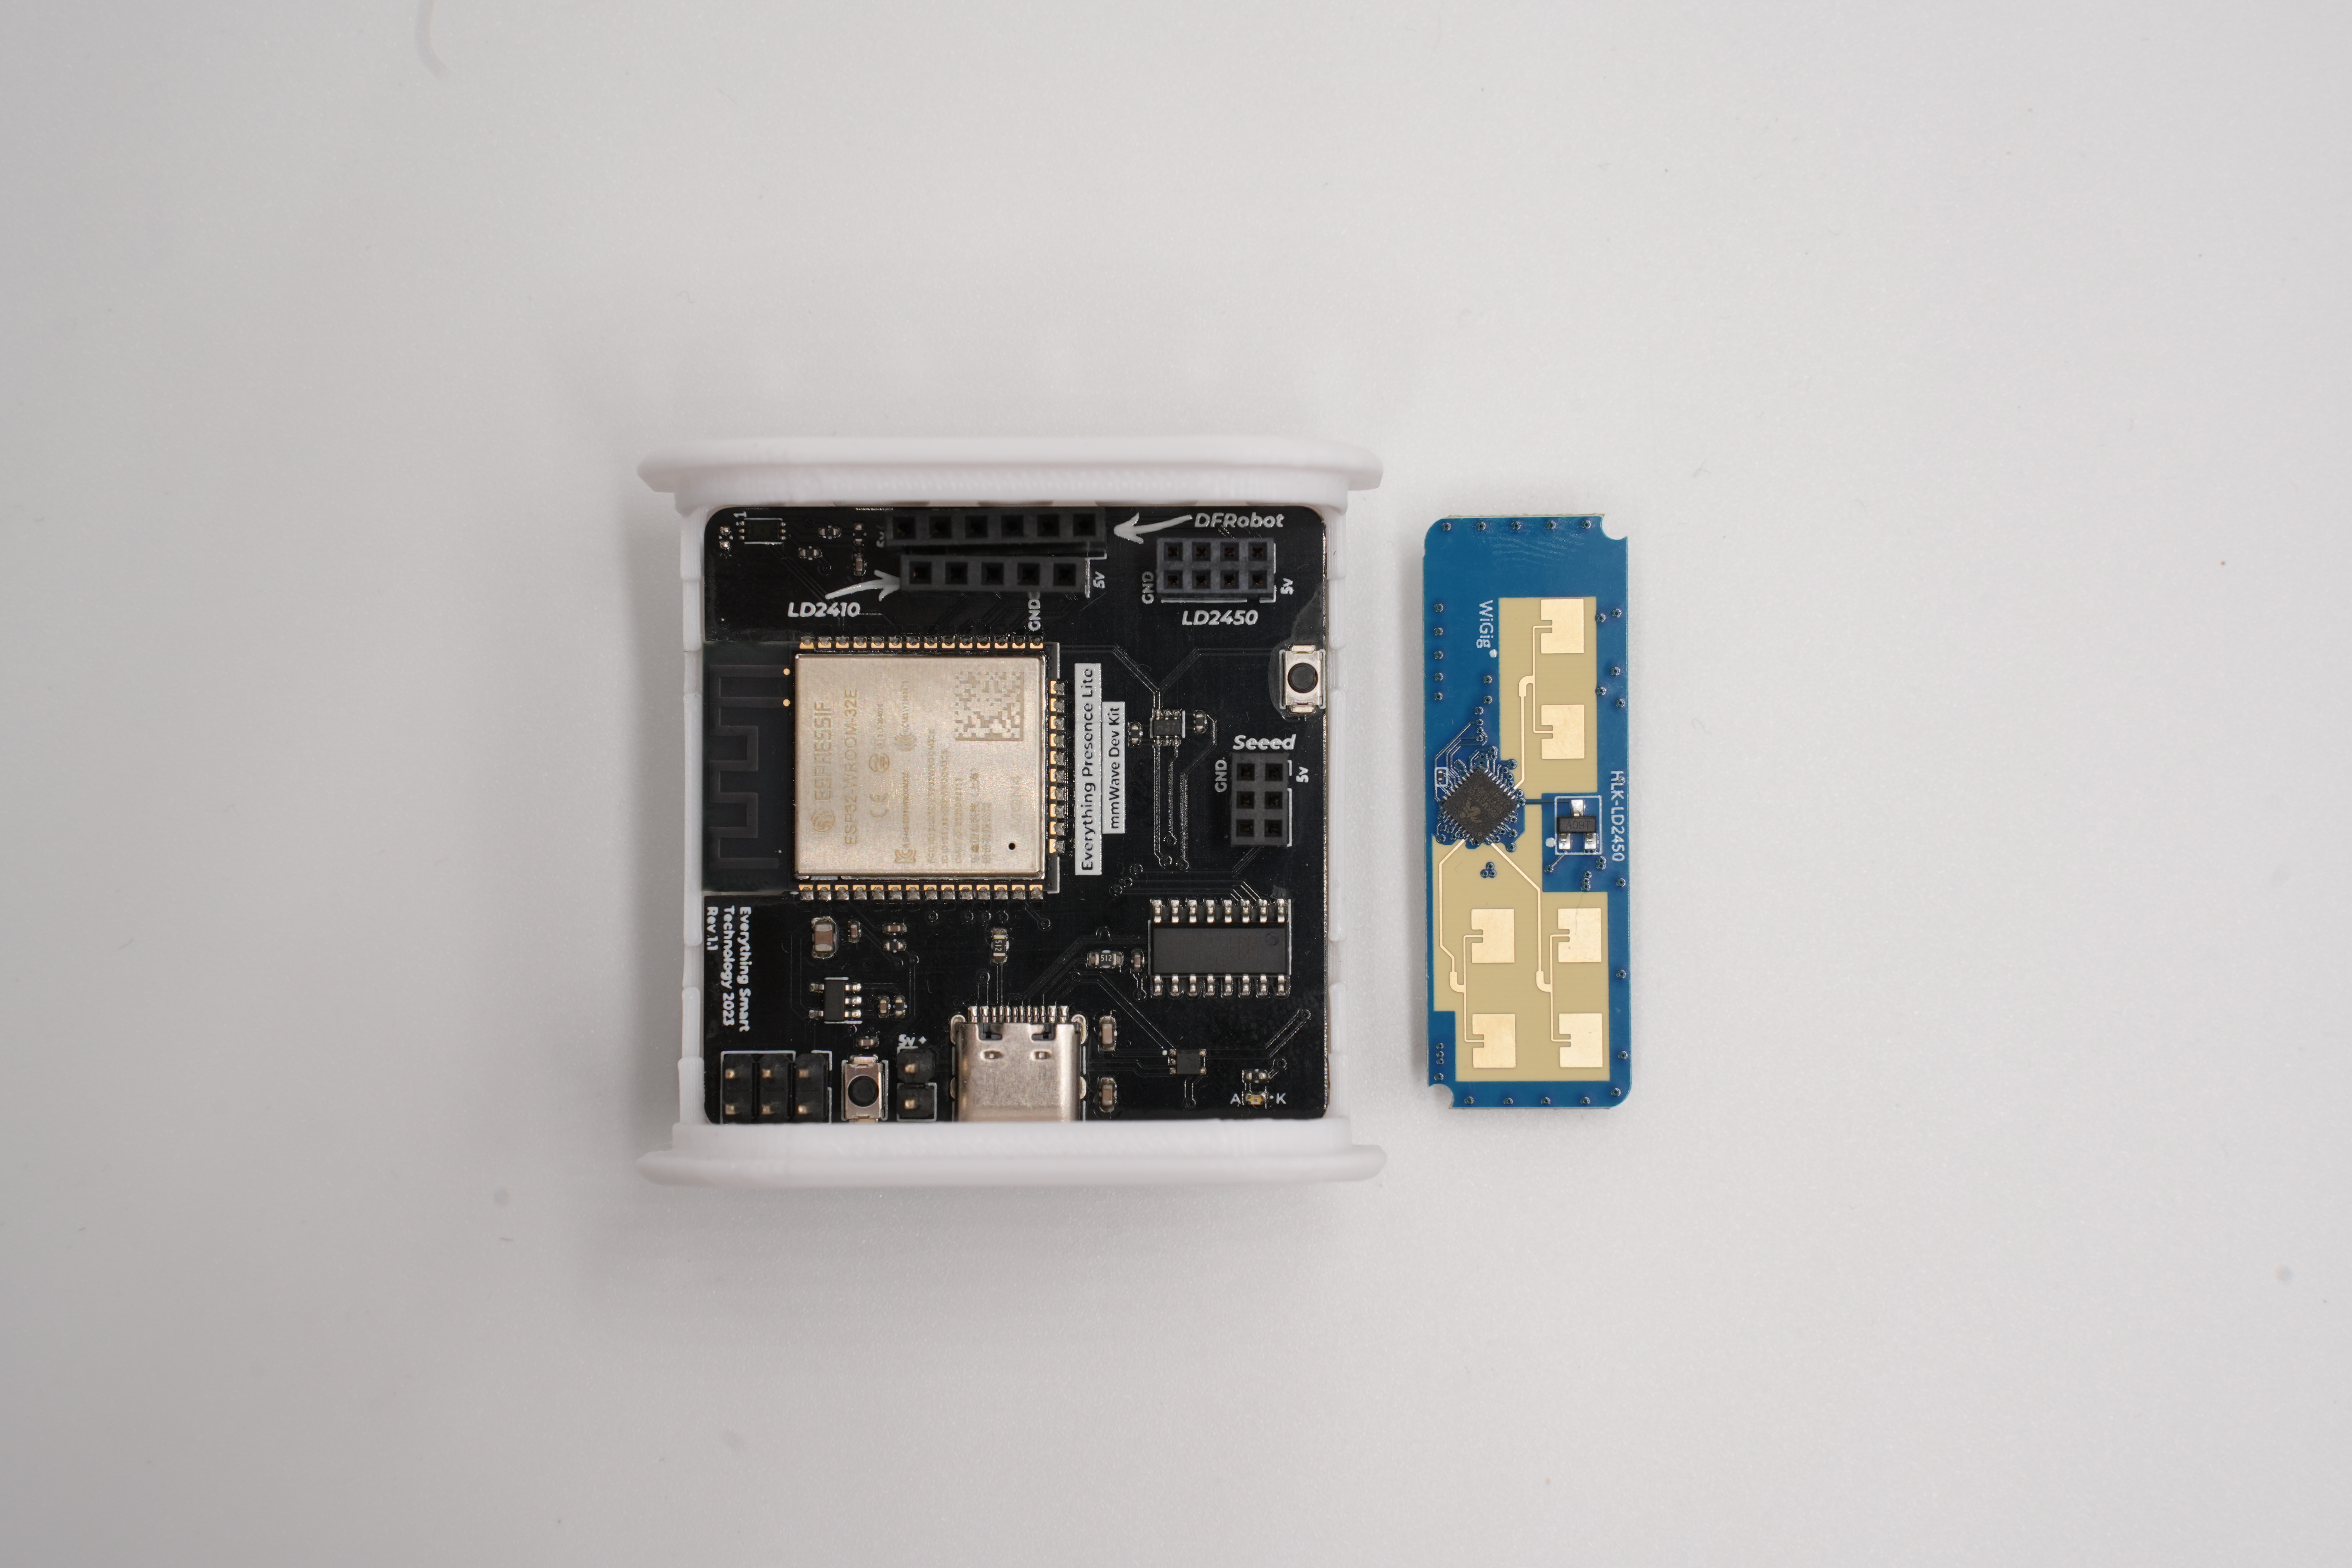
- Carefully align the sensor’s pins with the socket.
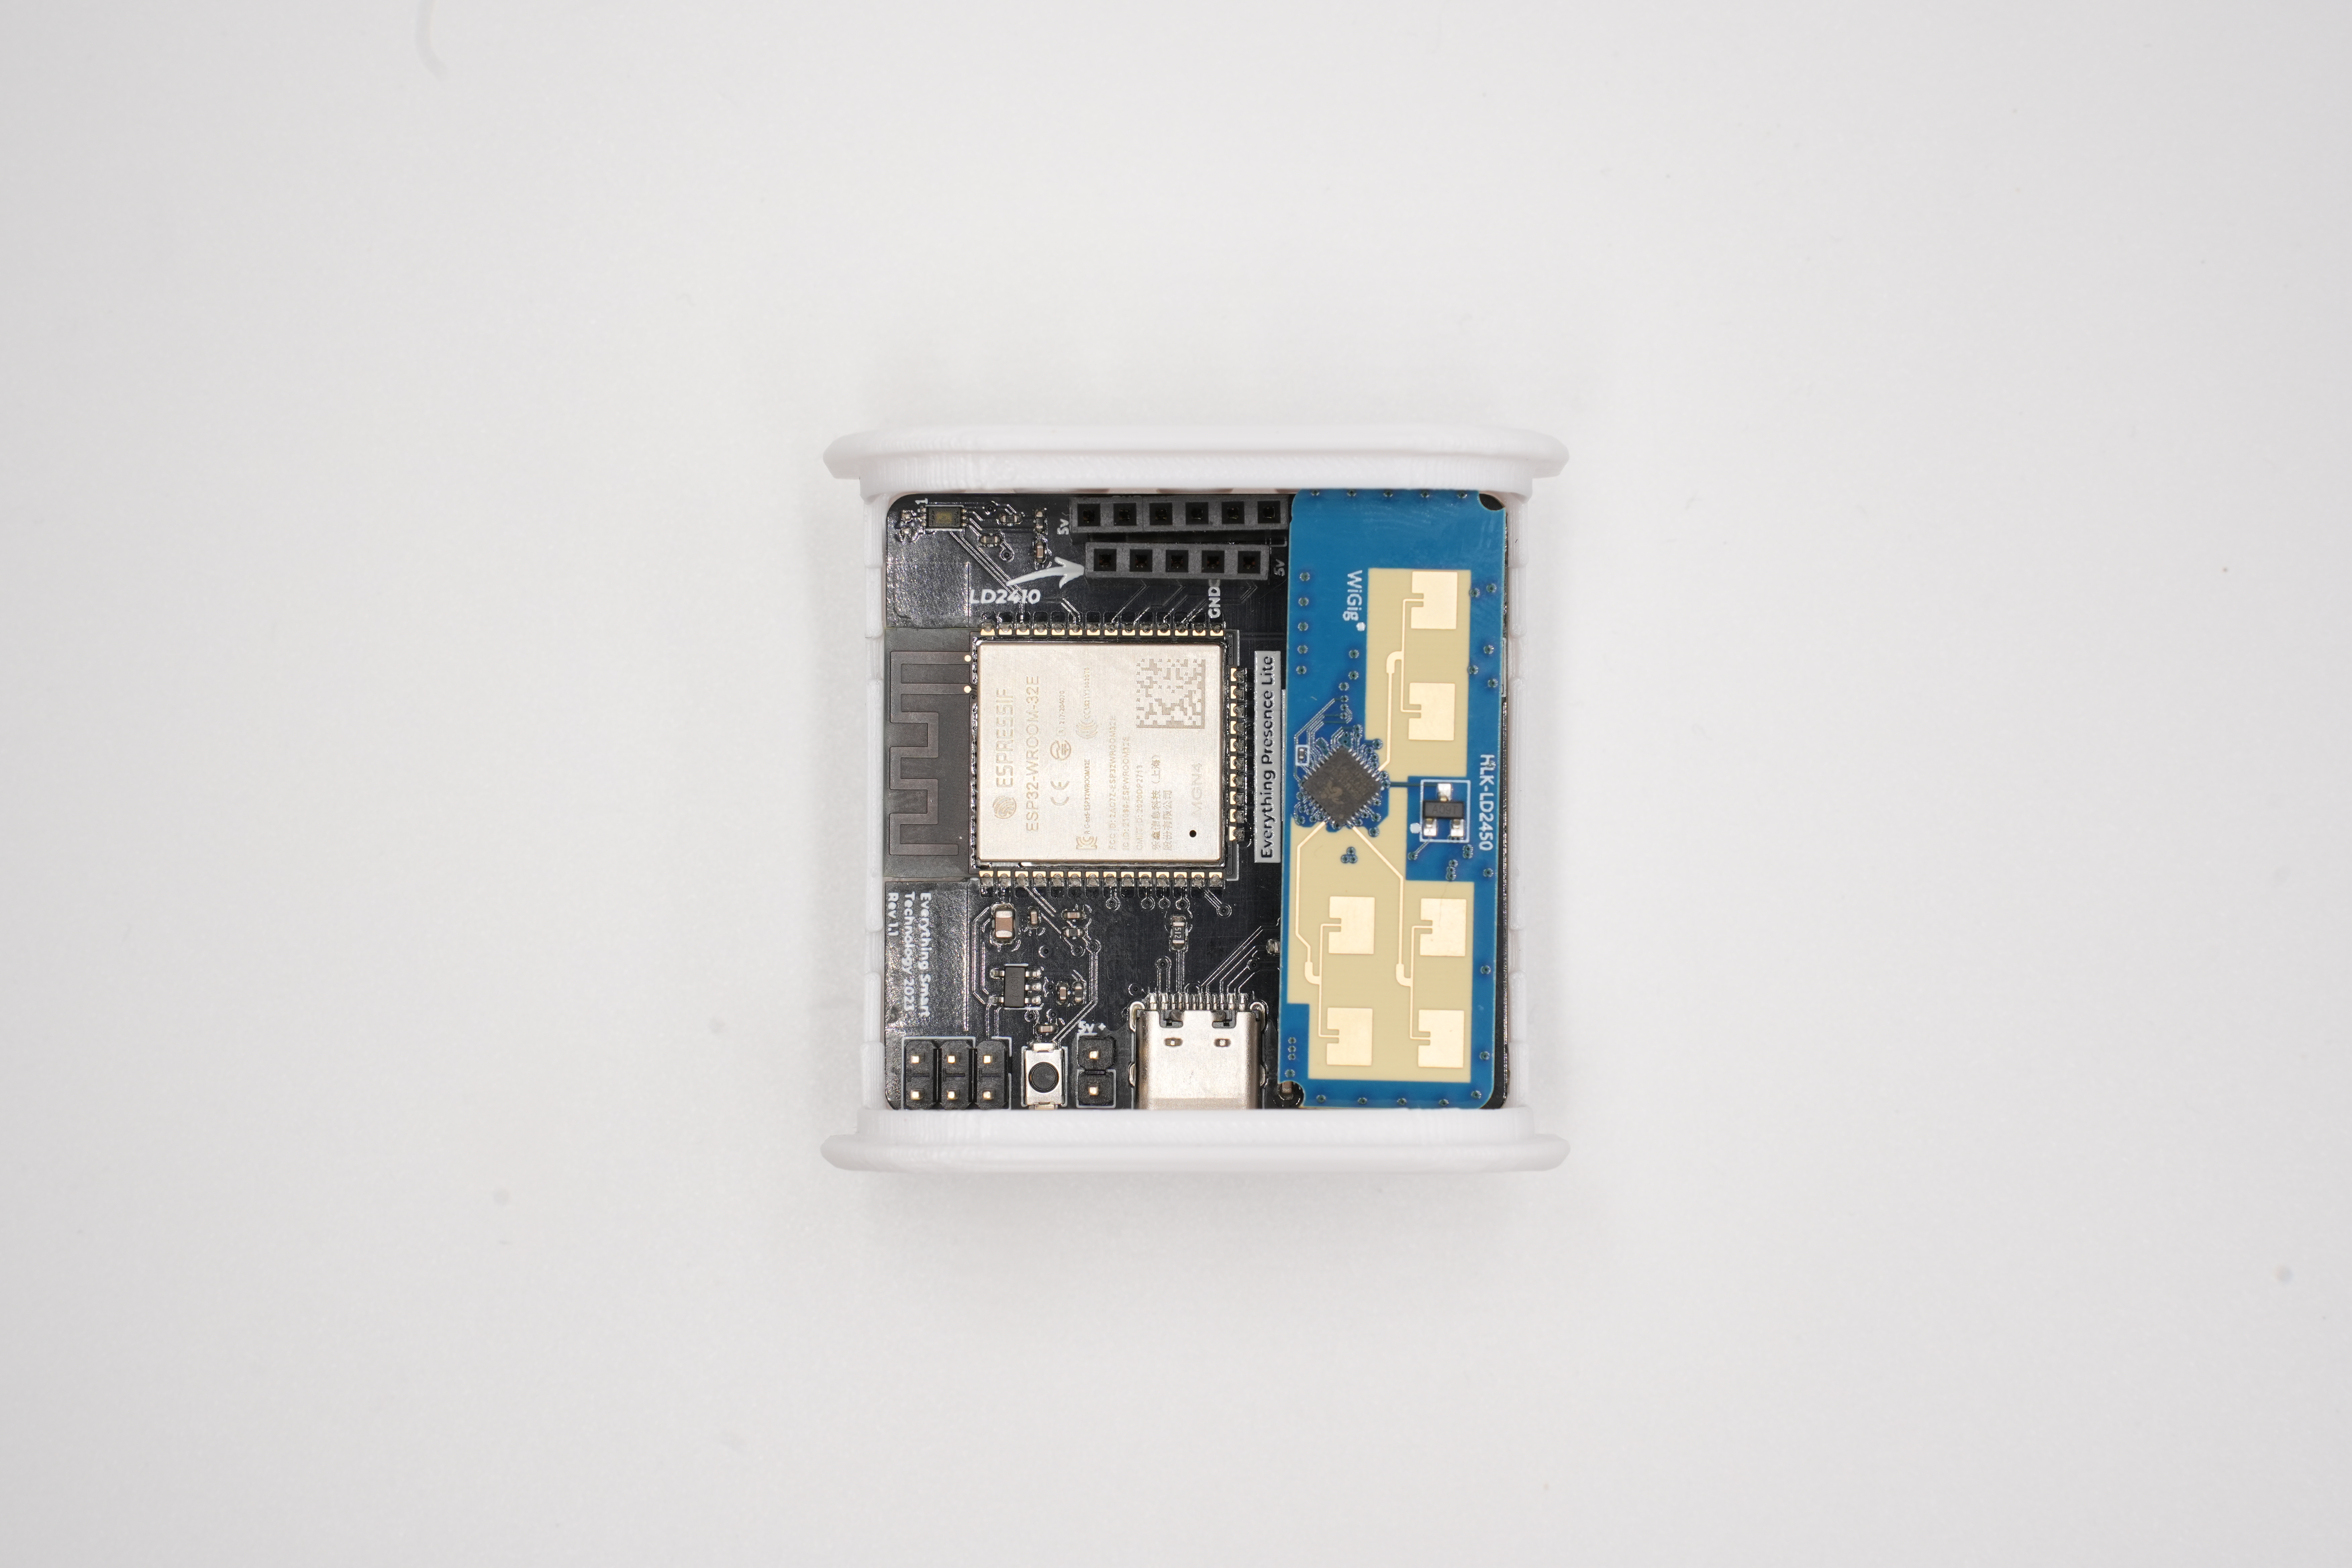
- Ensure the 5V pin on the sensor aligns with the 5V pin on the board.
- Do not shift the sensor left or right.
 \n
Warning
Important: The mmWave sensor’s pins are delicate and can bend easily. Remove the sensor before moving or working on the board to avoid damage.
Complete the Assembly
Attach the front of the case
-
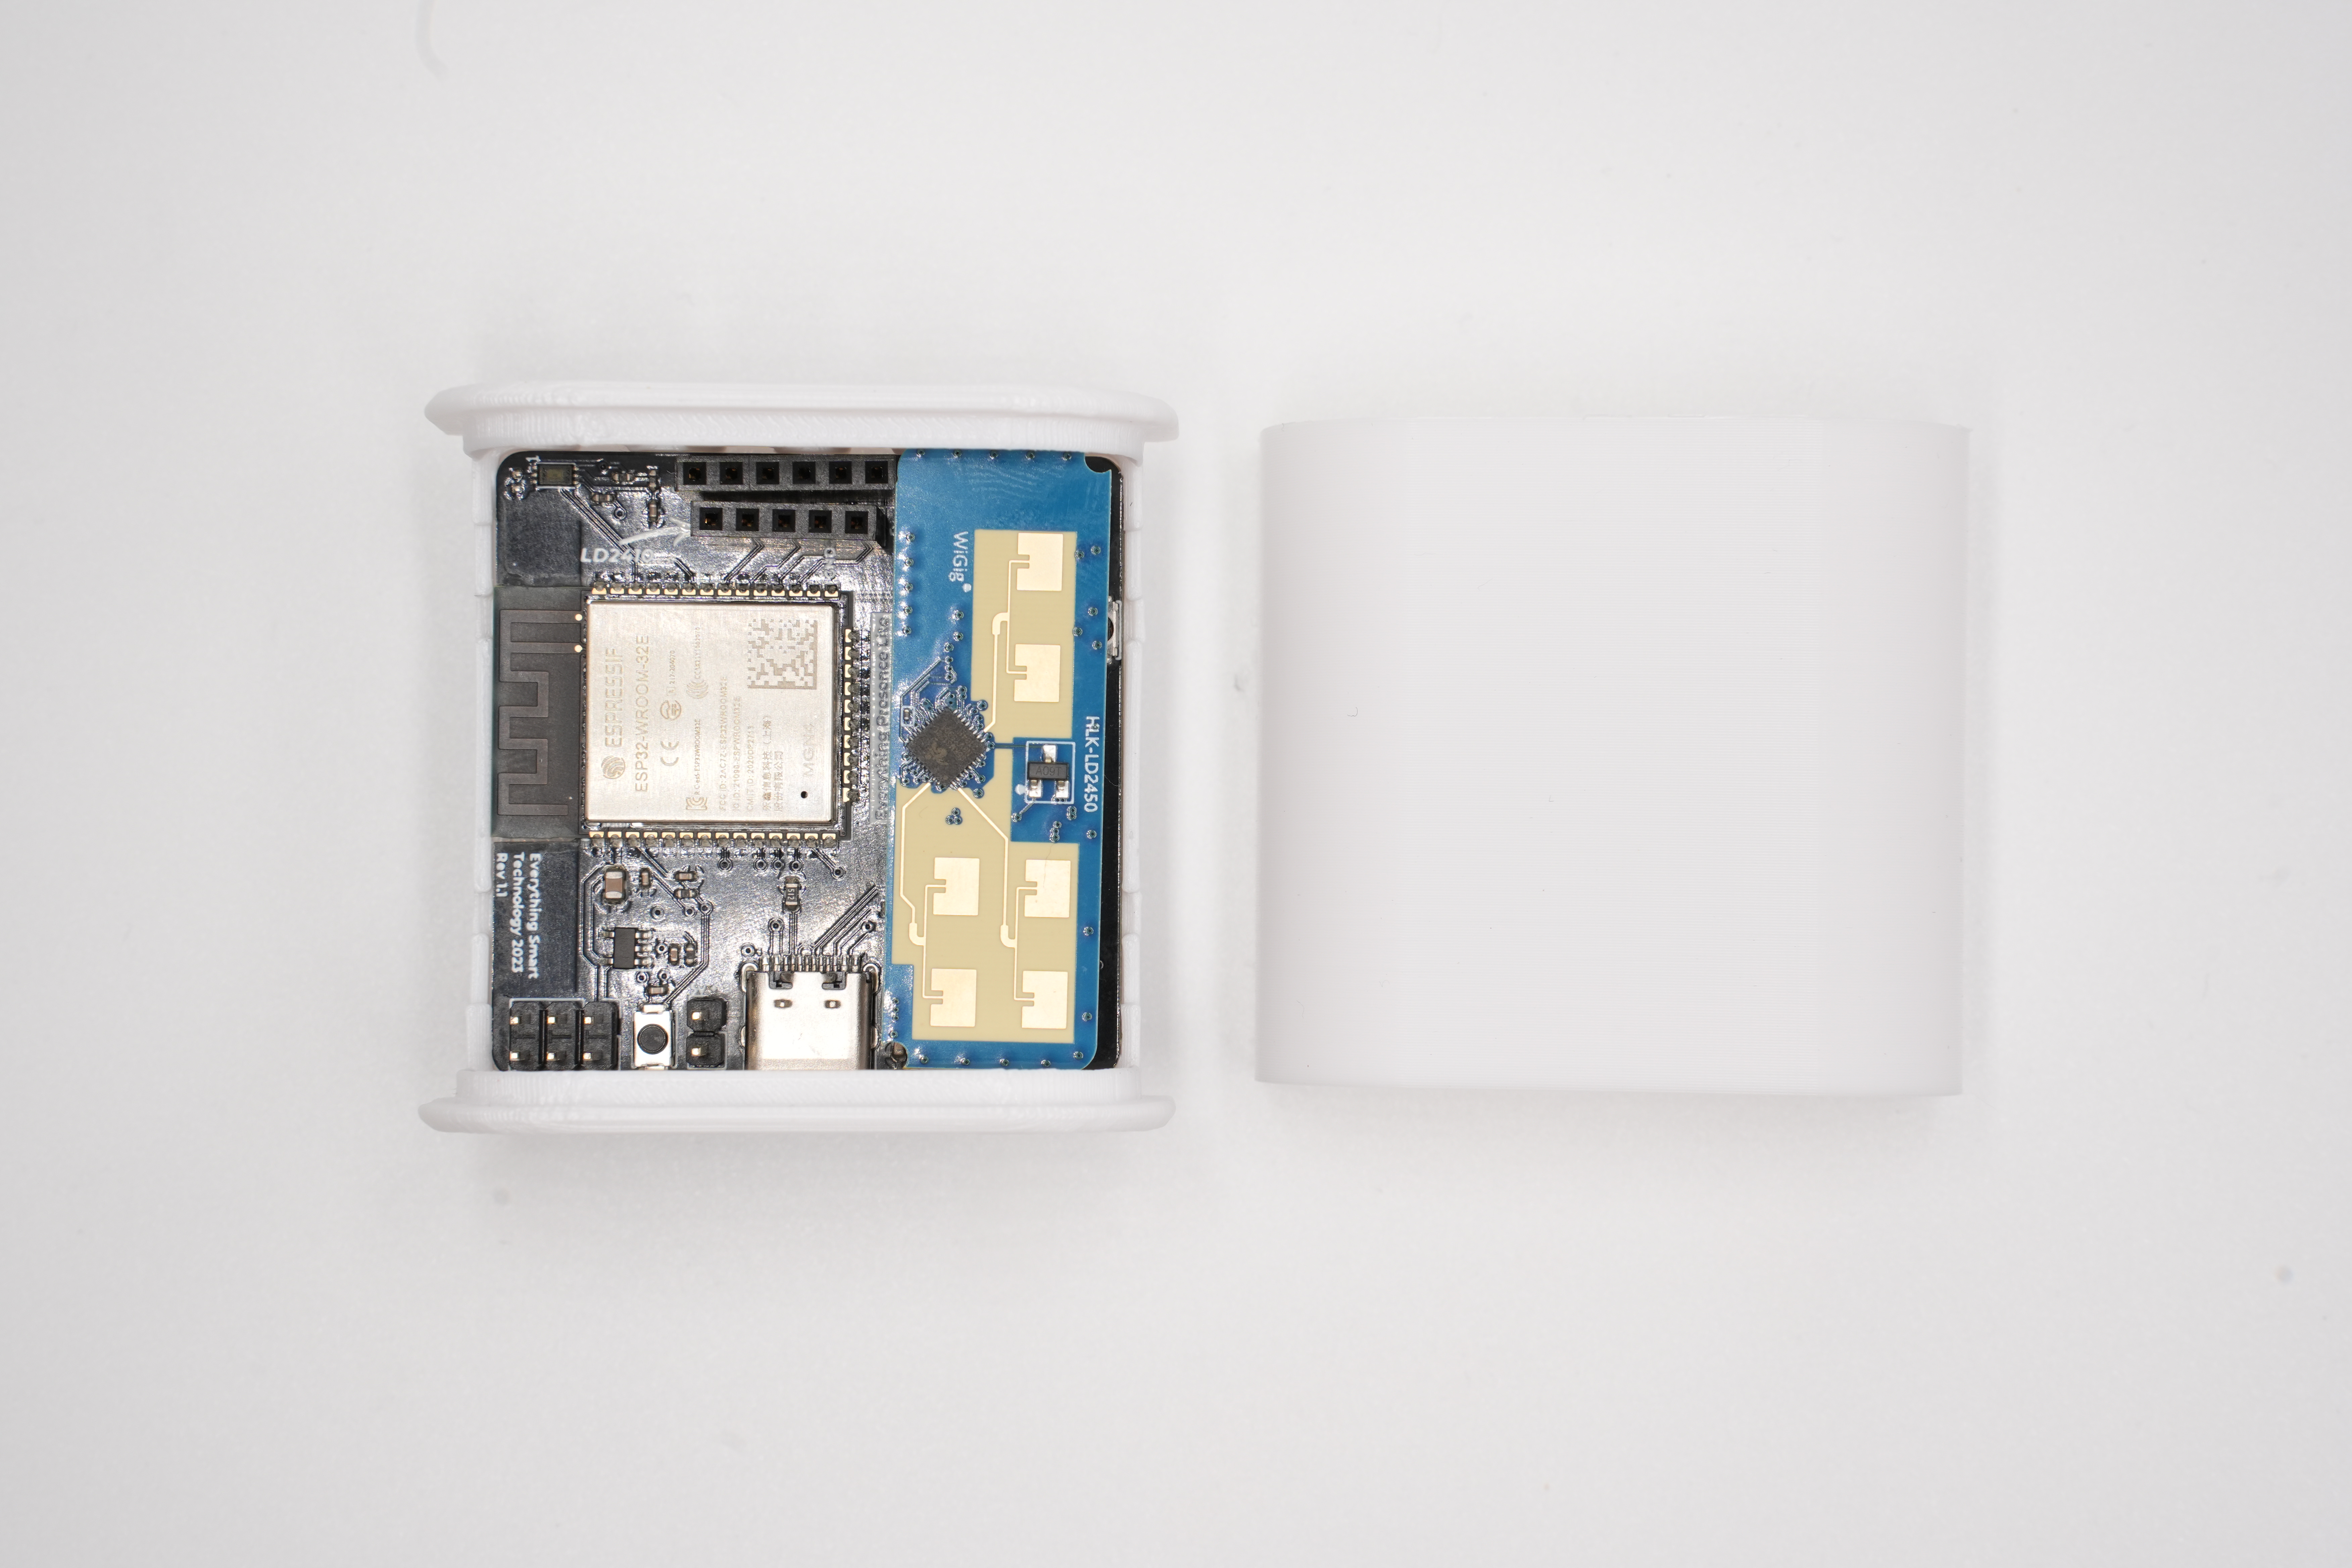
Align the front panel with the case.
-
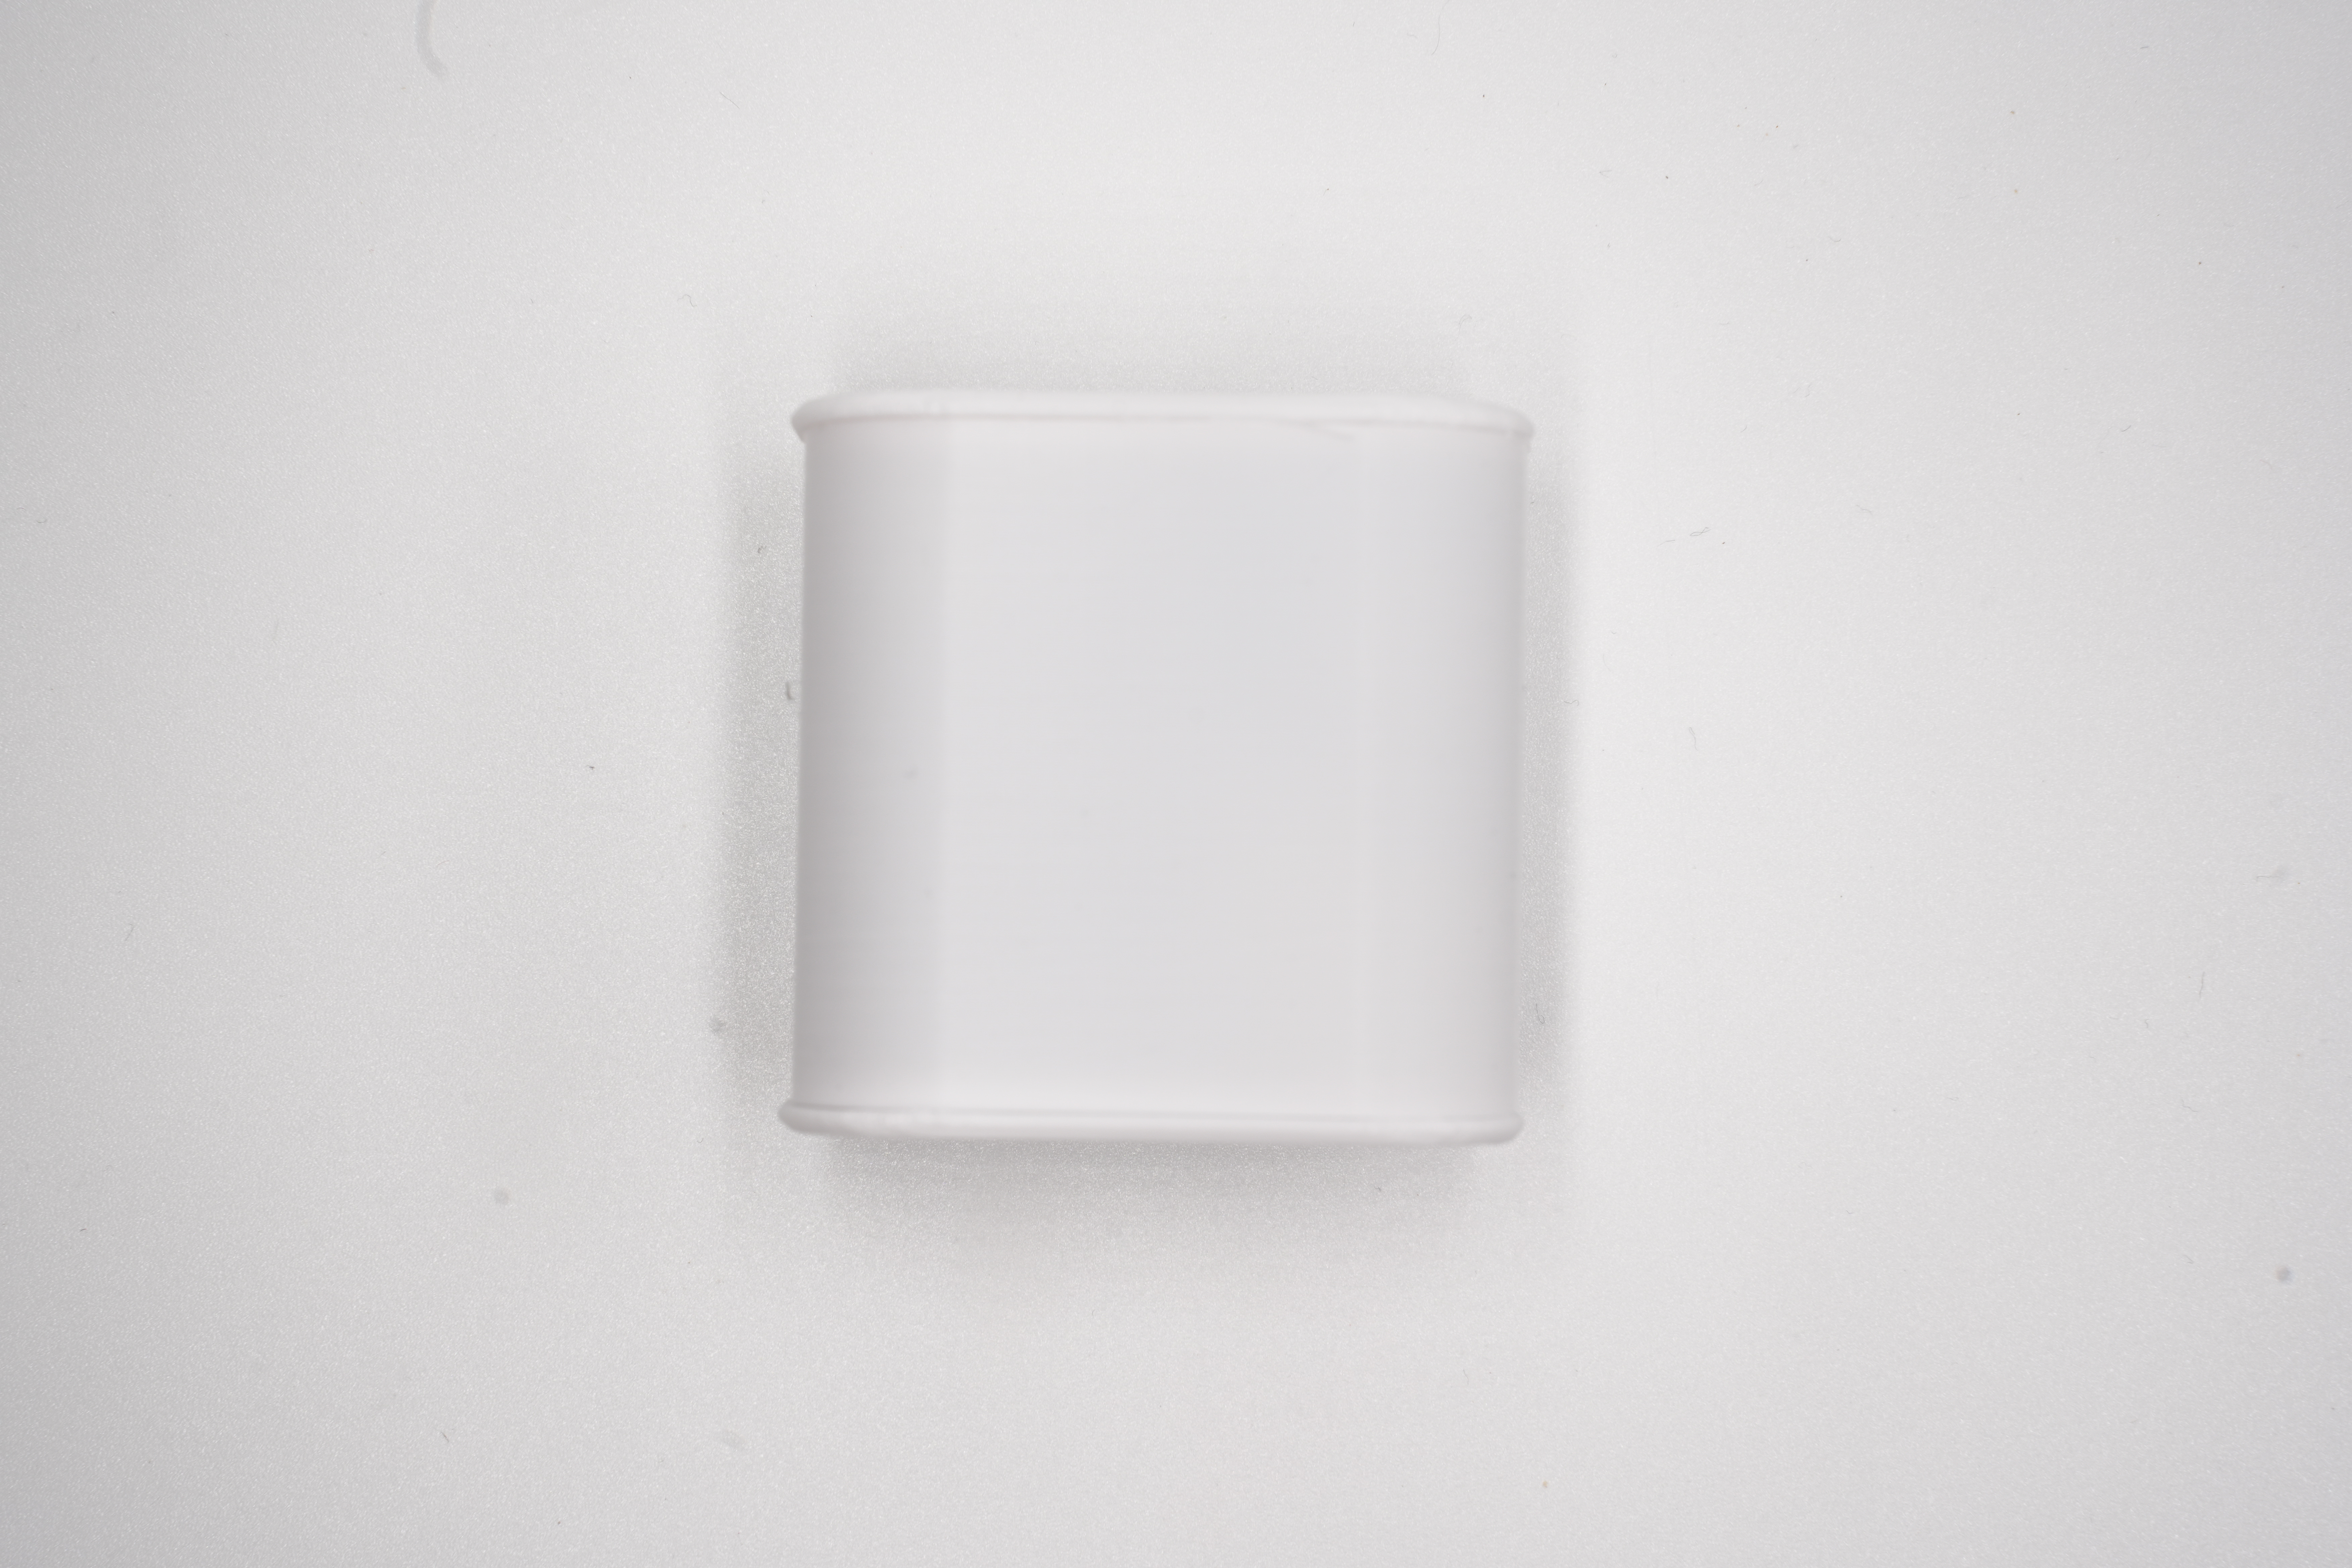
Press firmly until it snaps into position.
Attach the stand
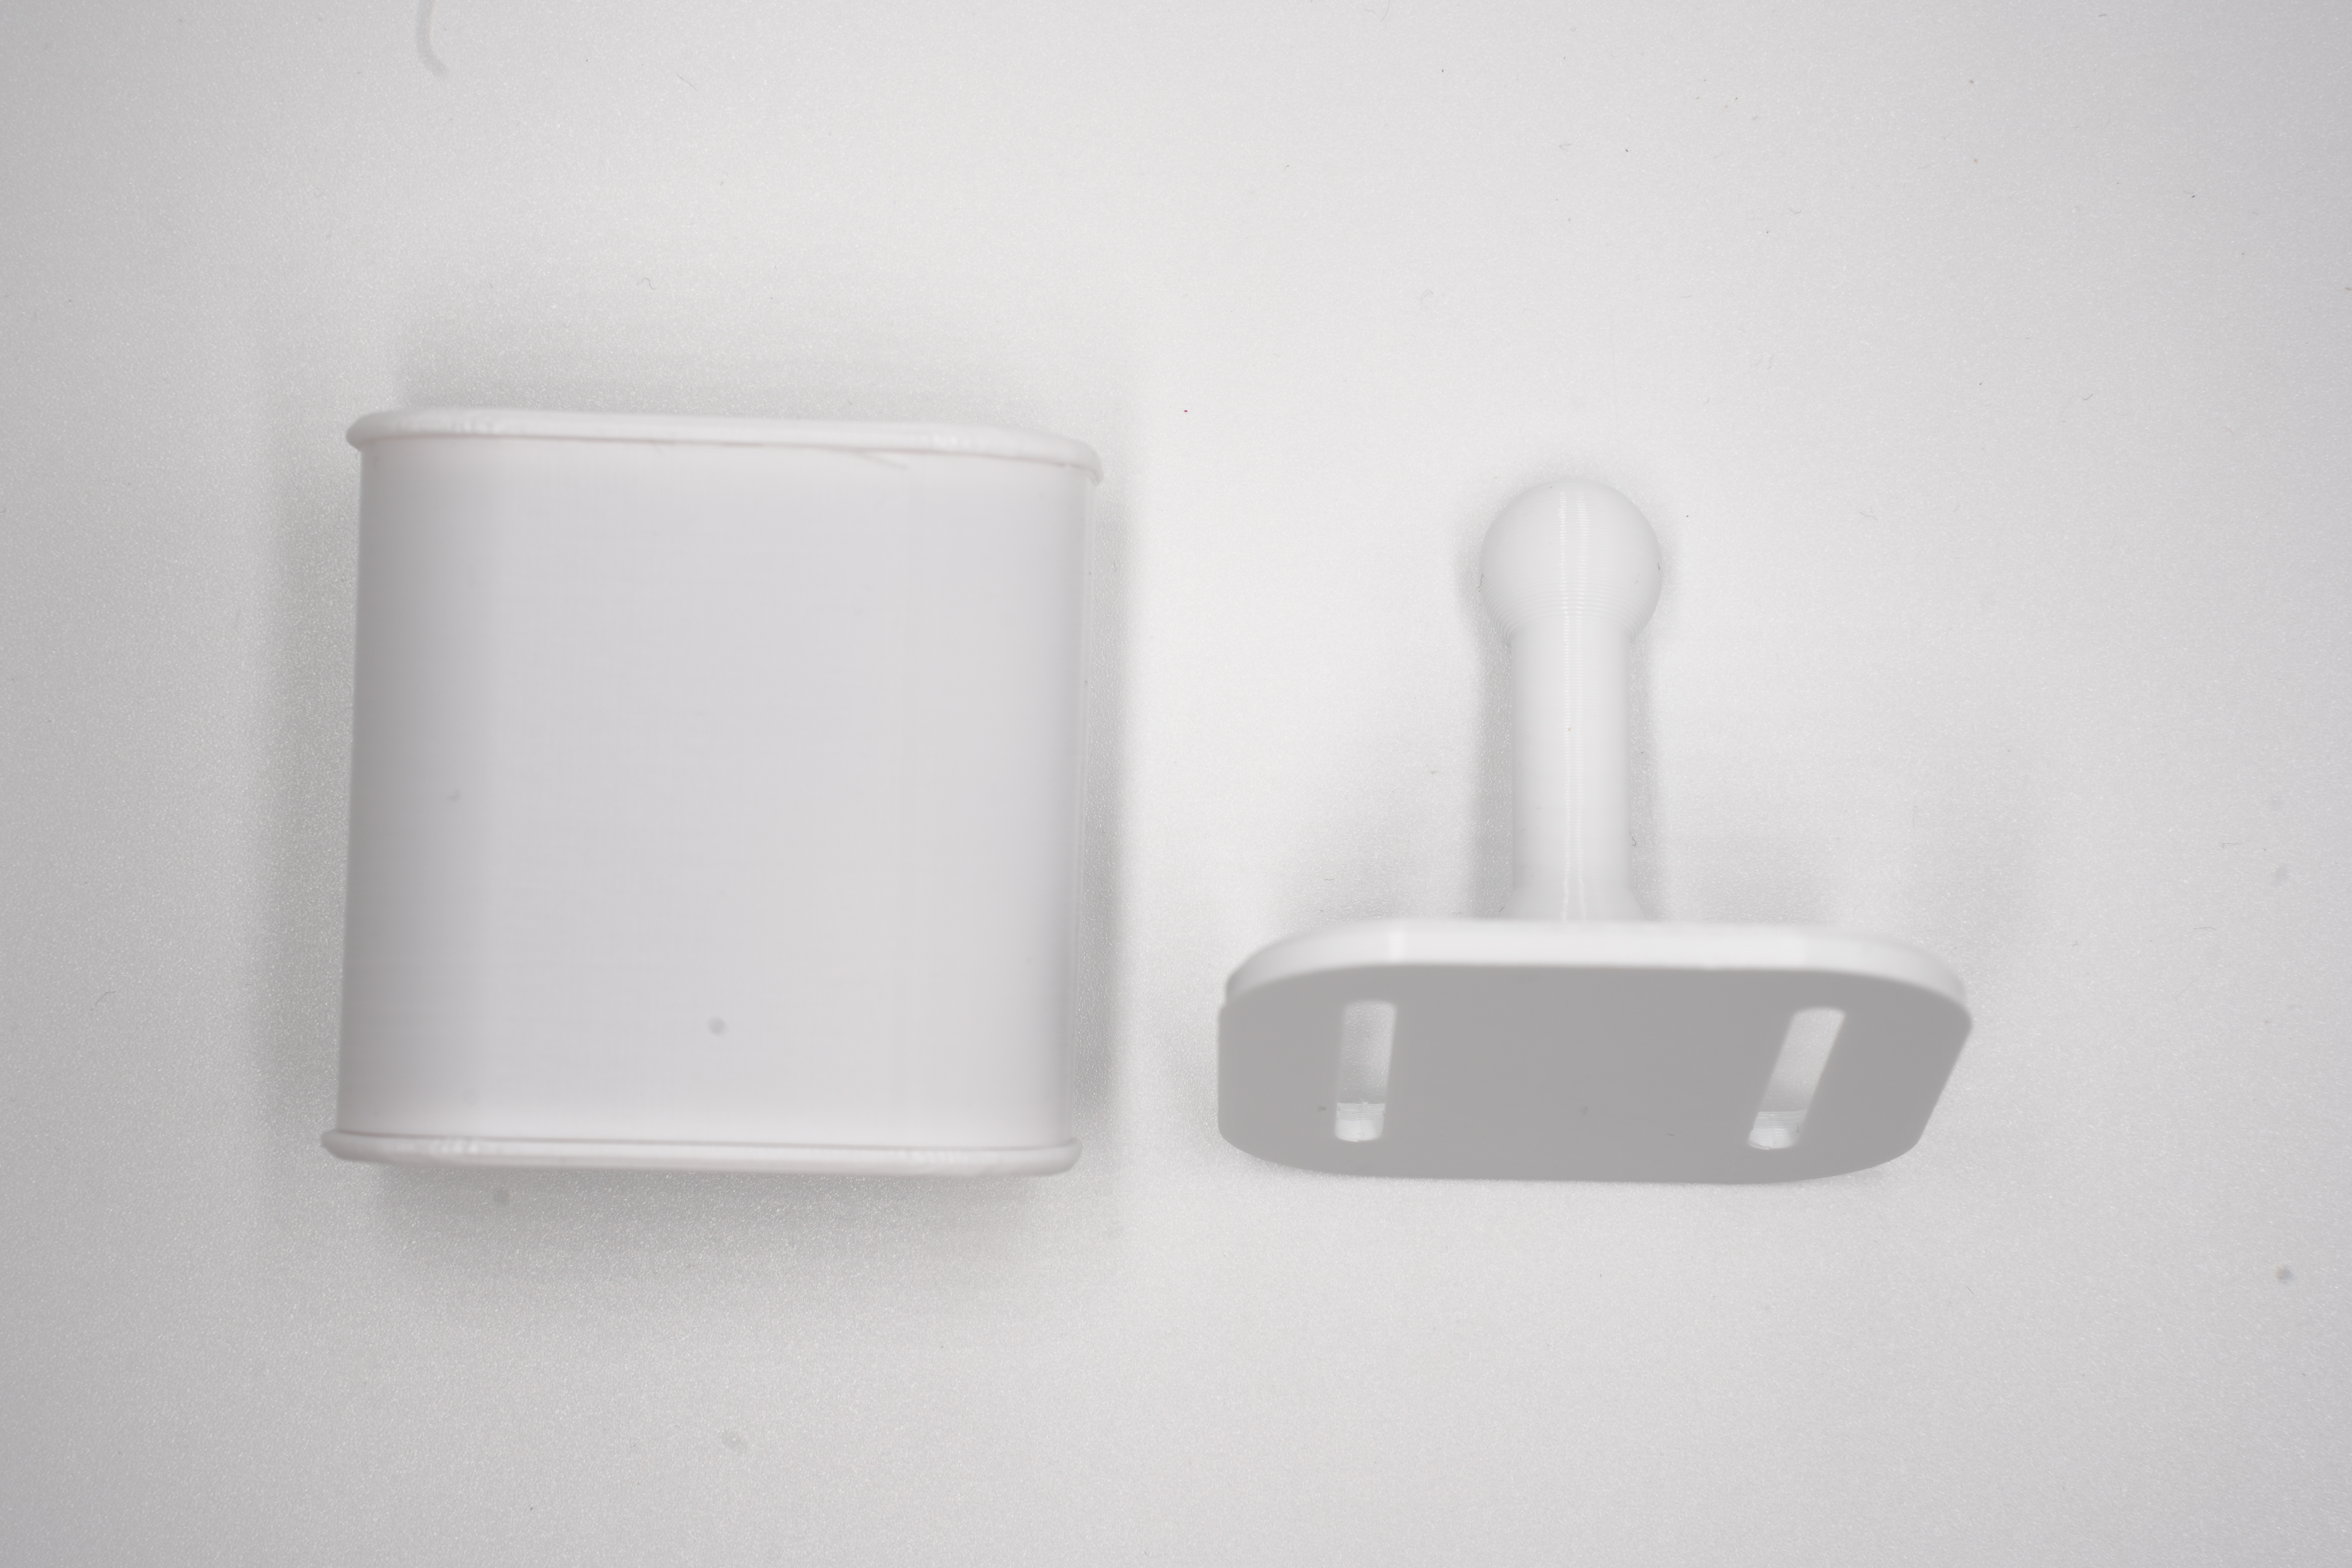
- Hold the case steady and press the stand onto the ball joint.
- Use your thumb against the back of the ball joint for support.
- The stand may feel tight initially due to the 3D printing process but will loosen slightly after a few rotations.
Once assembled, your Everything Presence Lite should look like this:
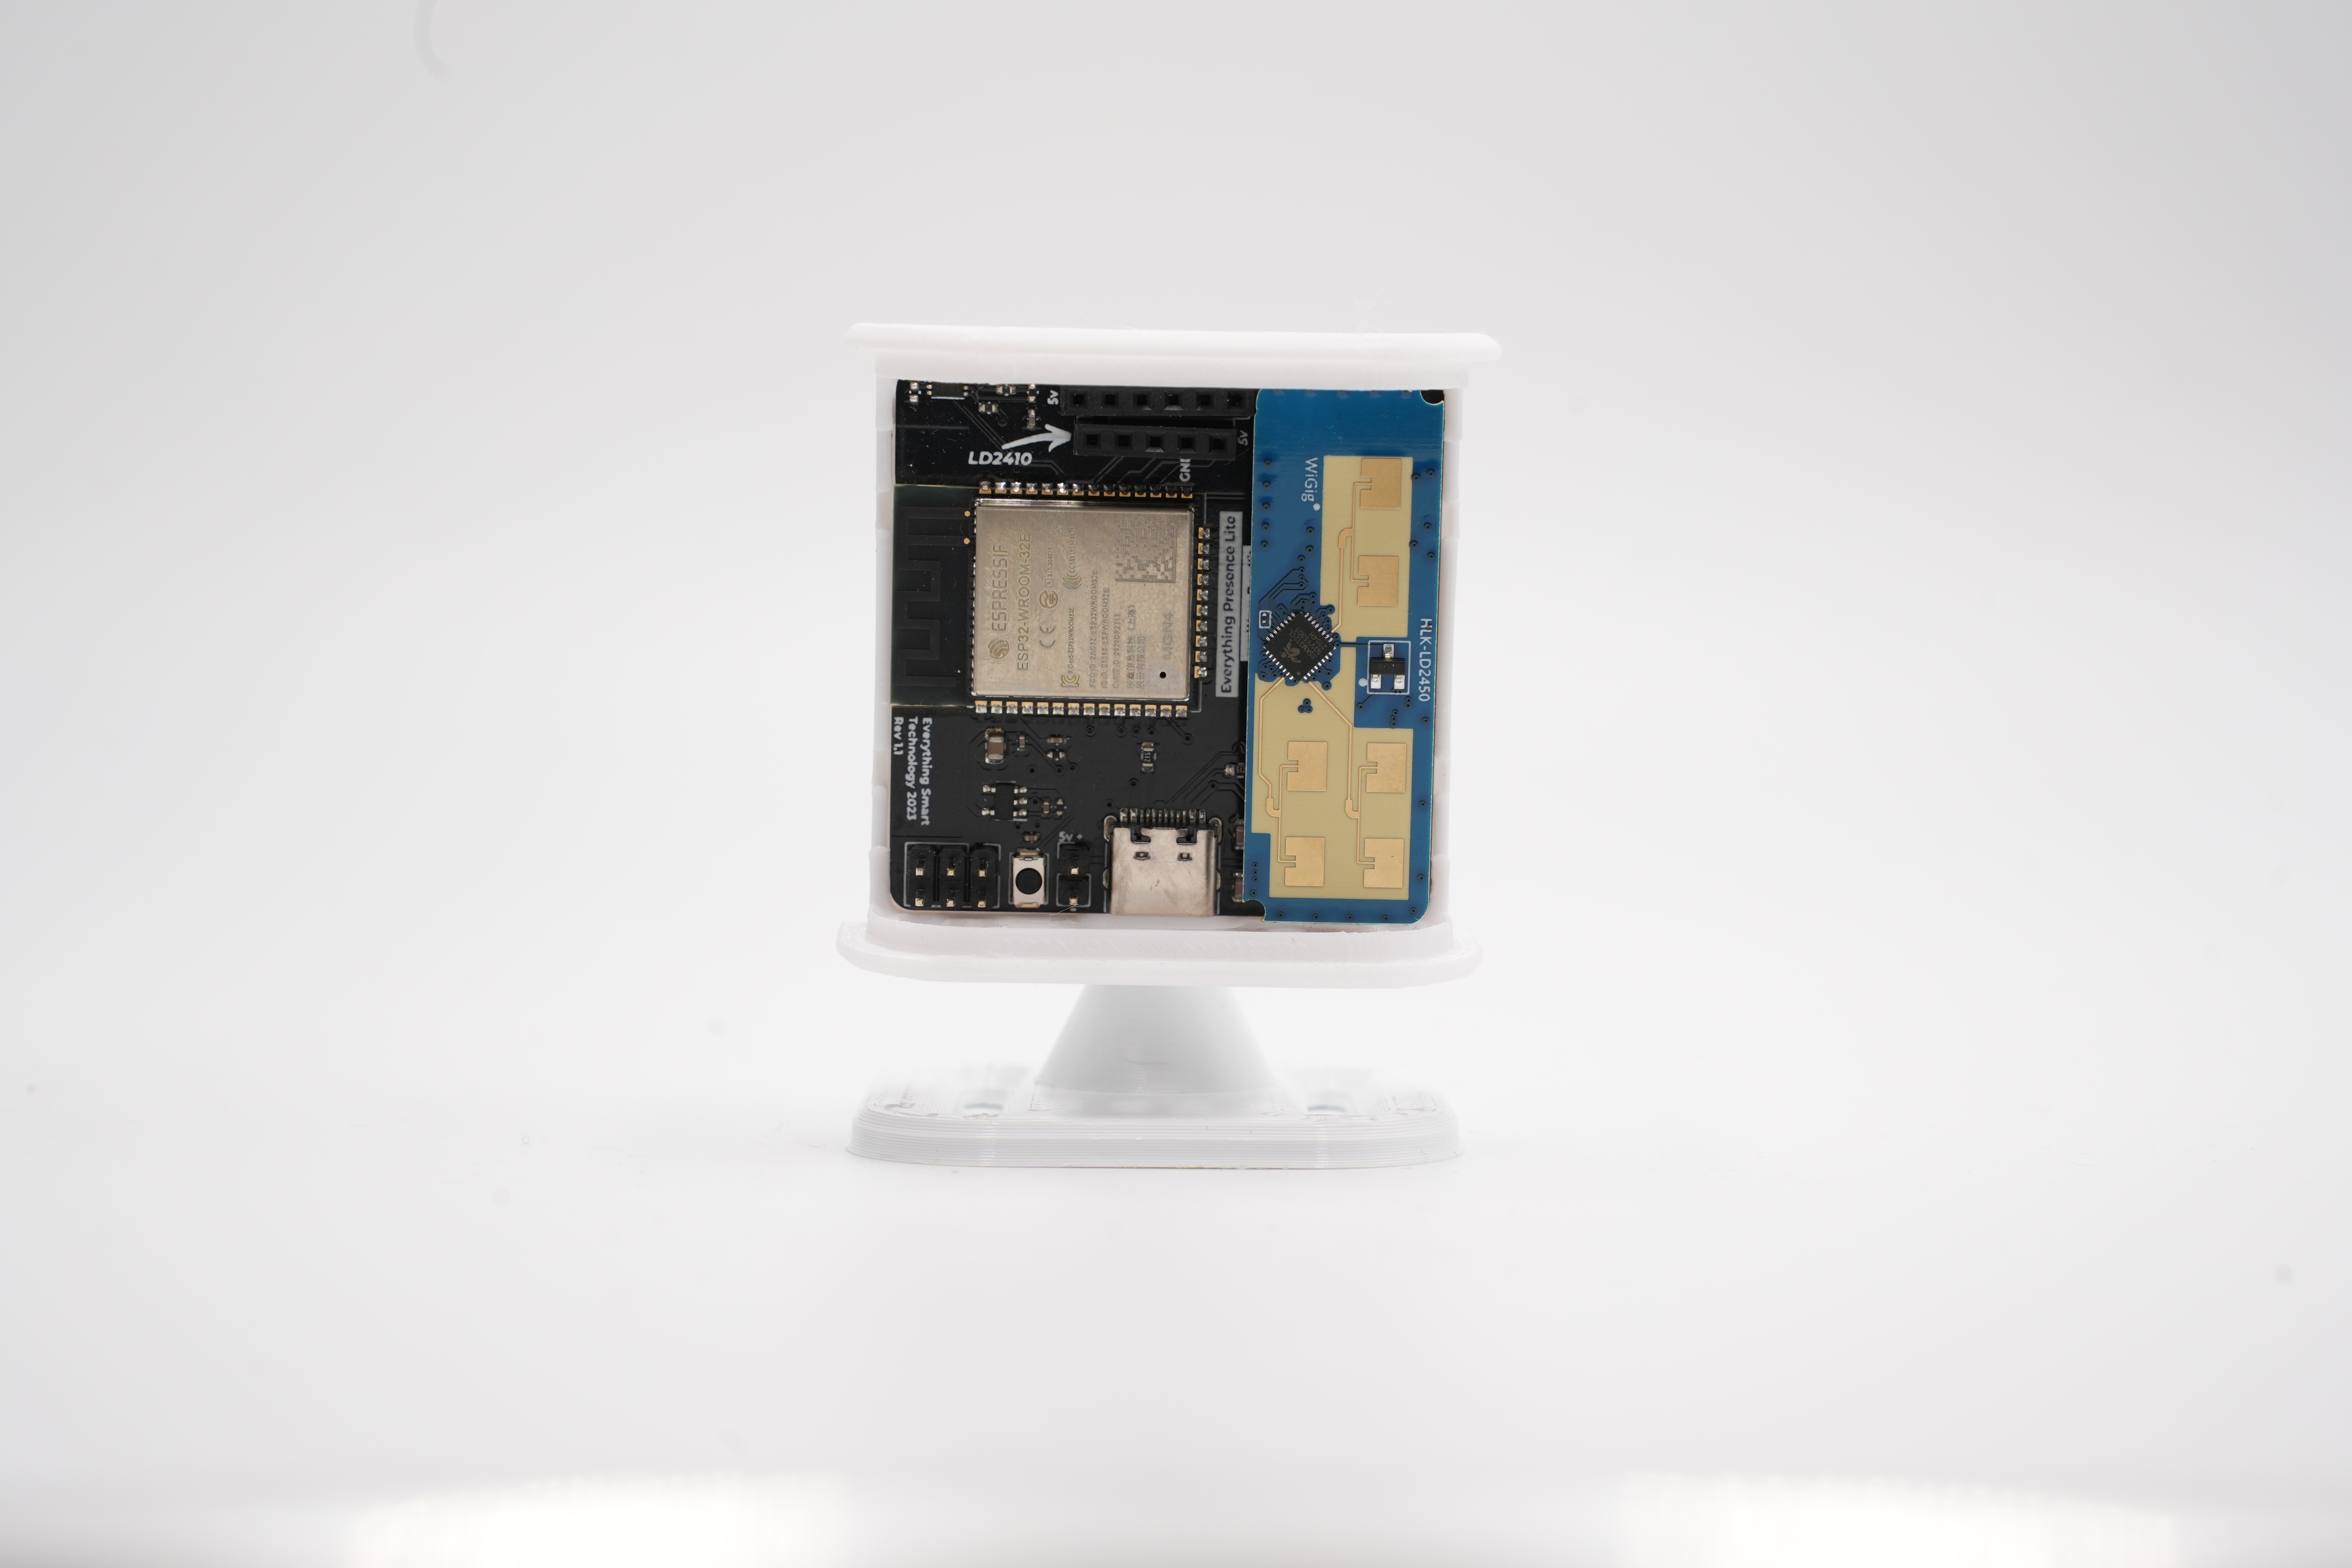
Completed EPL with cover removed for clarity
Power On Everything Presence Lite
What you need
- Included right-angle USB-C cable
- Power adapter (any USB power brick, 200mA minimum)
Steps
- Plug one end of the USB-C cable into Everything Presence Lite.
- Connect the other end to a computer or USB power adapter.
Everything Presence Lite is now powered on and ready for setup.