Everything Presence One — Case Assembly (Archive)
Follow the archived case assembly instructions for Everything Presence One. Check this guide against your hardware version before assembly.
Assemble Your EP1 Hardware
Follow the steps below to assemble your EP1 hardware and prepare it for setup.
Step 1: Assemble the Case
What you’ll need:
- Case back
- Ball joint
- Locking ring
- Stand
Insert the Ball Joint
-
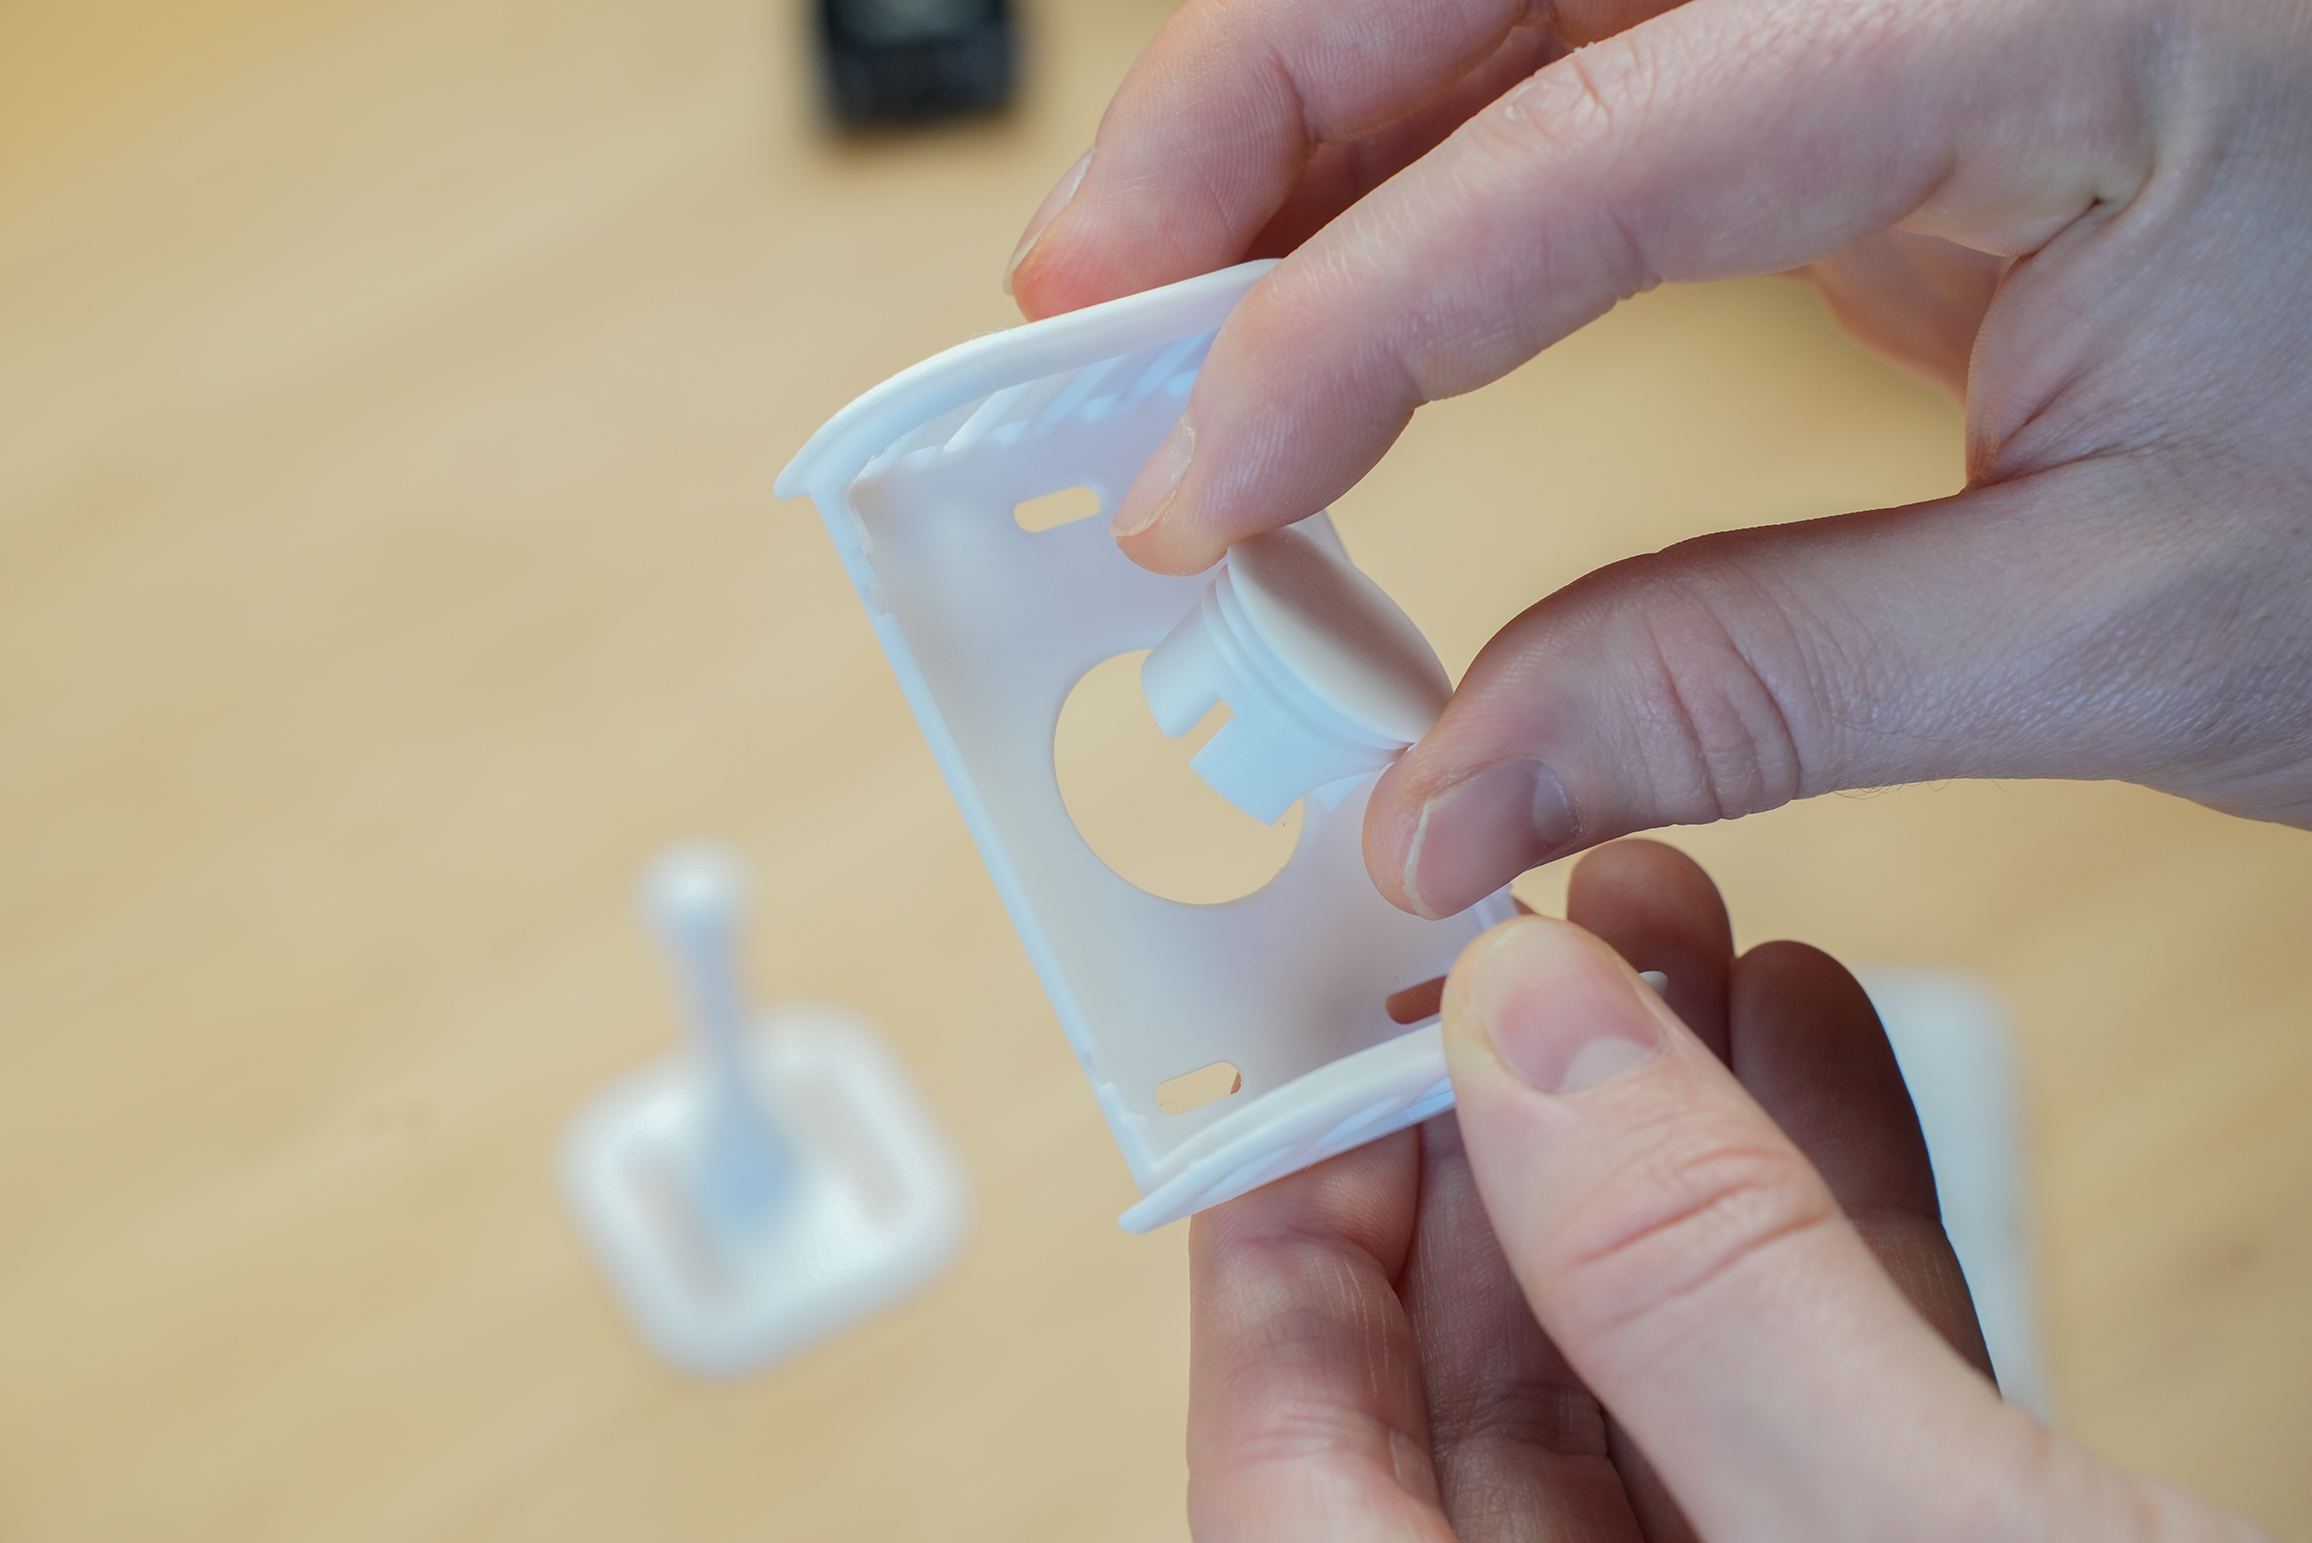
Insert the ball joint through the front side of the case back.
-
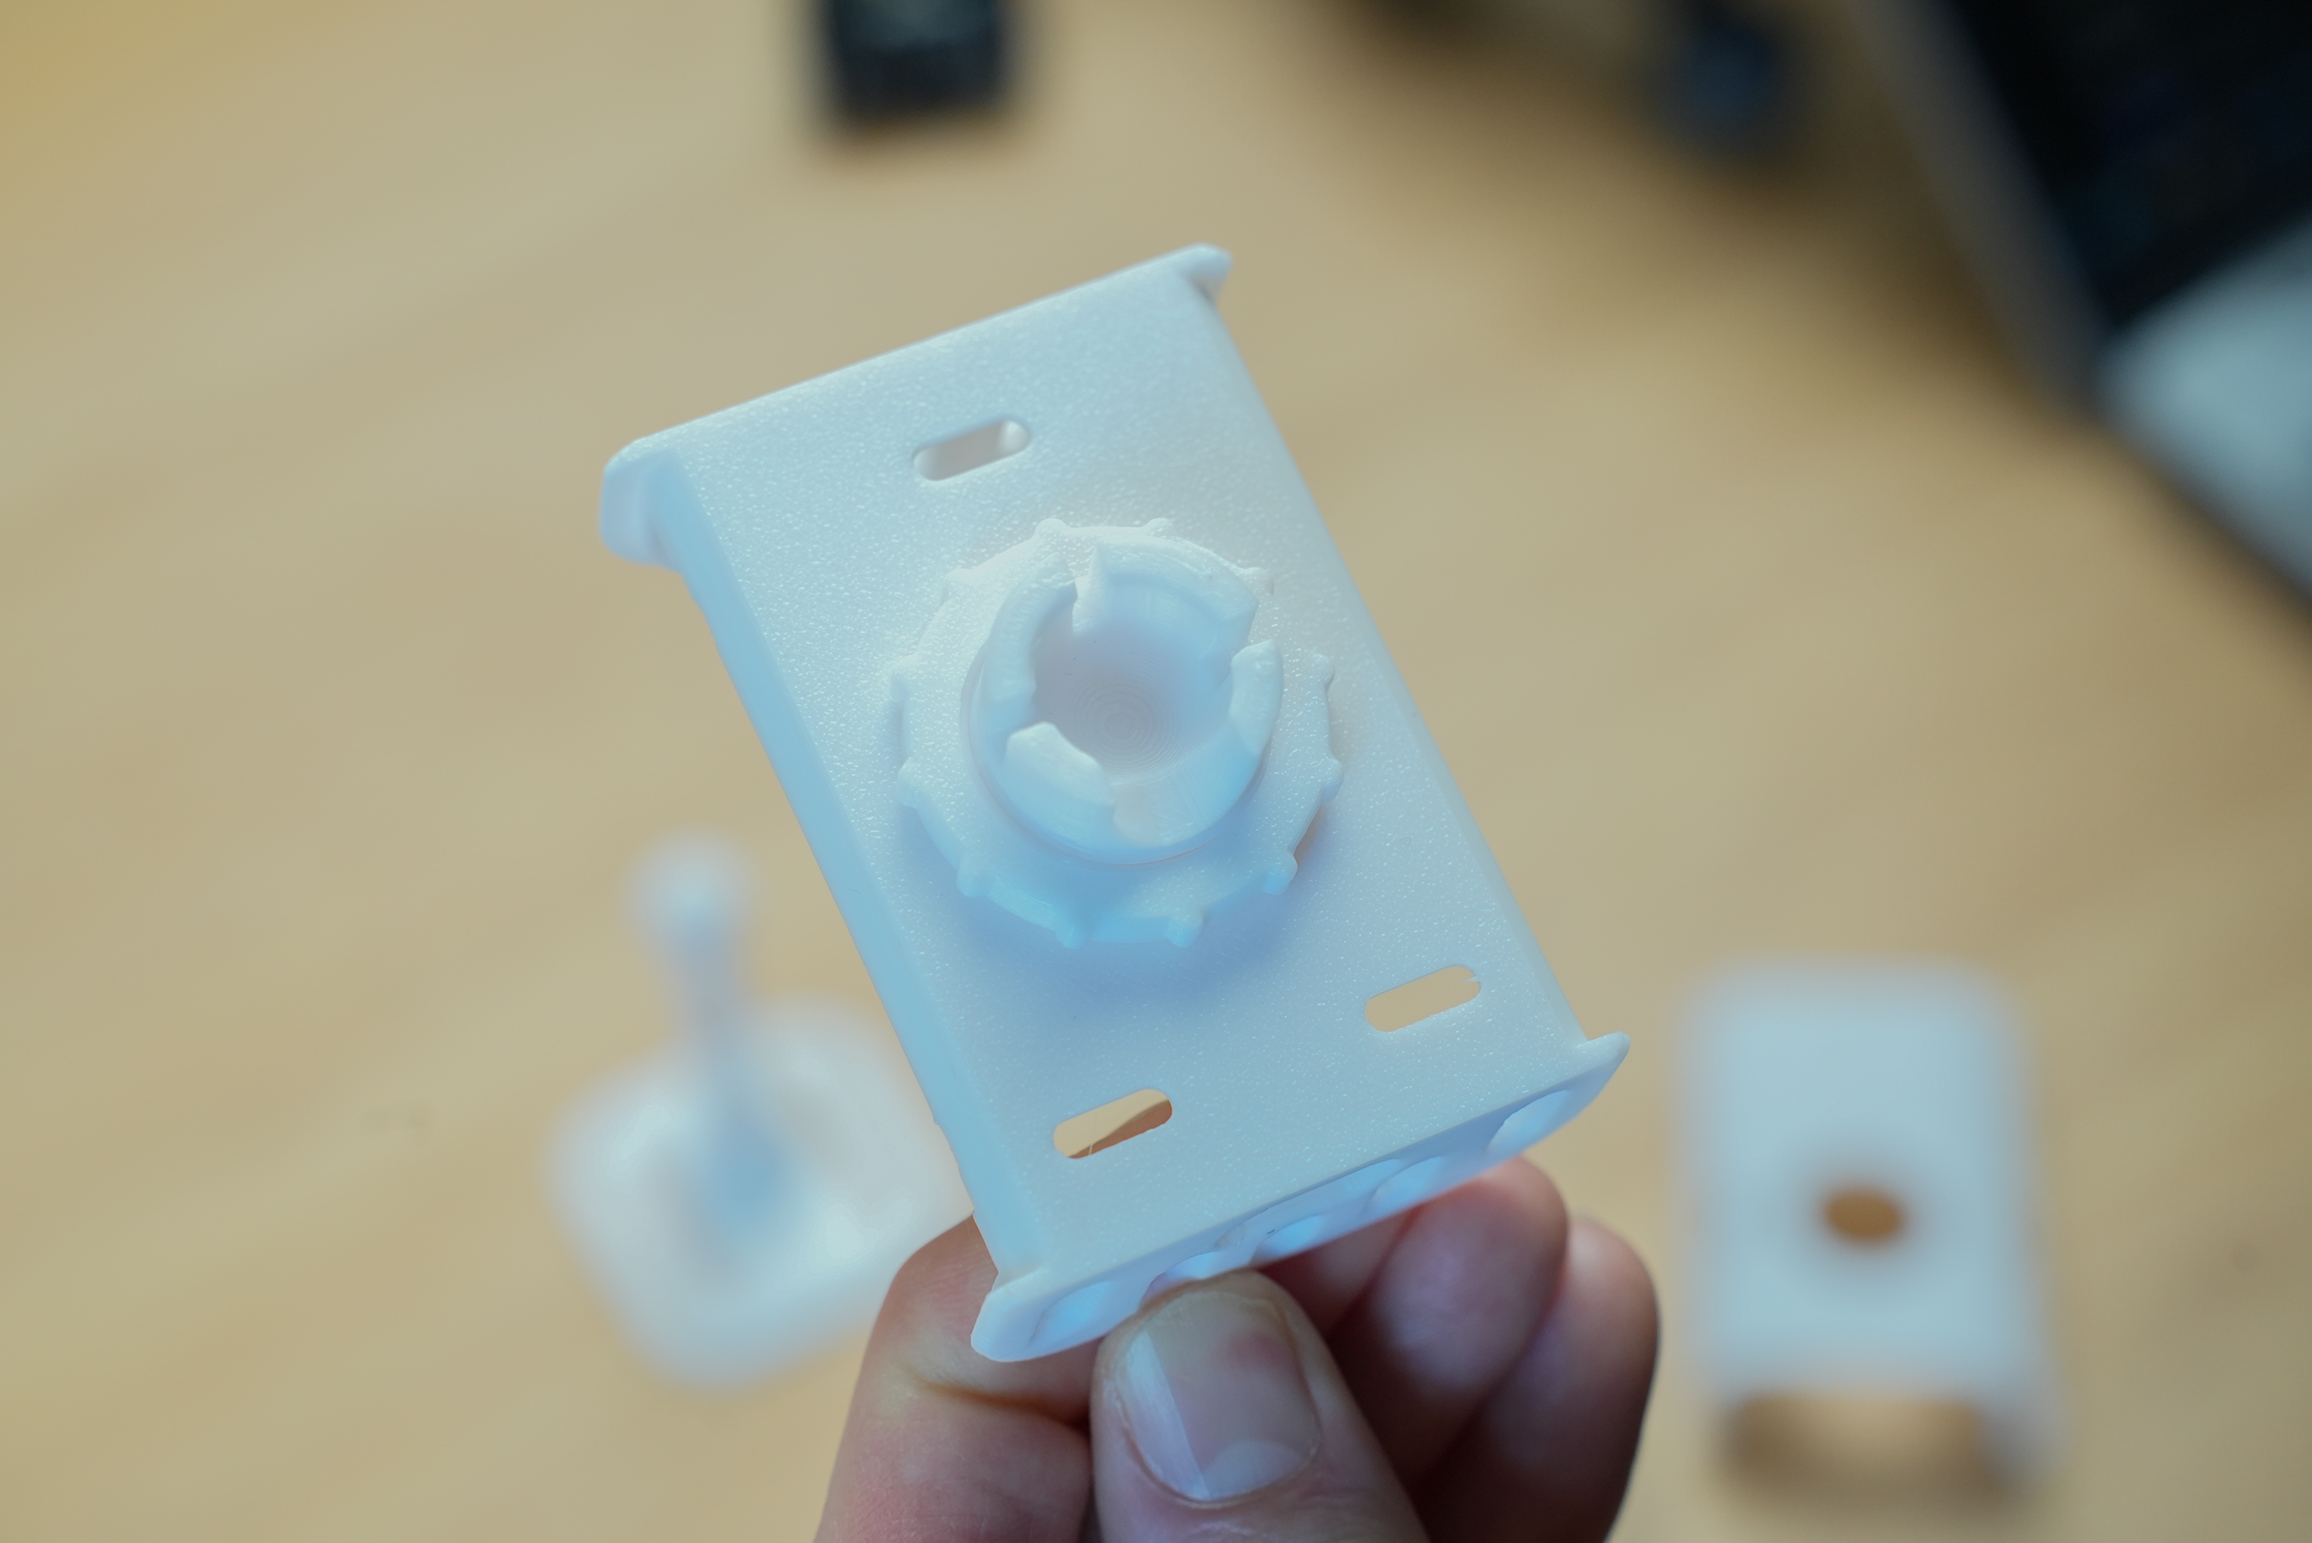
While holding the ball joint in place, thread the locking ring over the ball joint from the rear.
Tip: The locking ring has a slight groove—ensure this faces the back of the case.\n
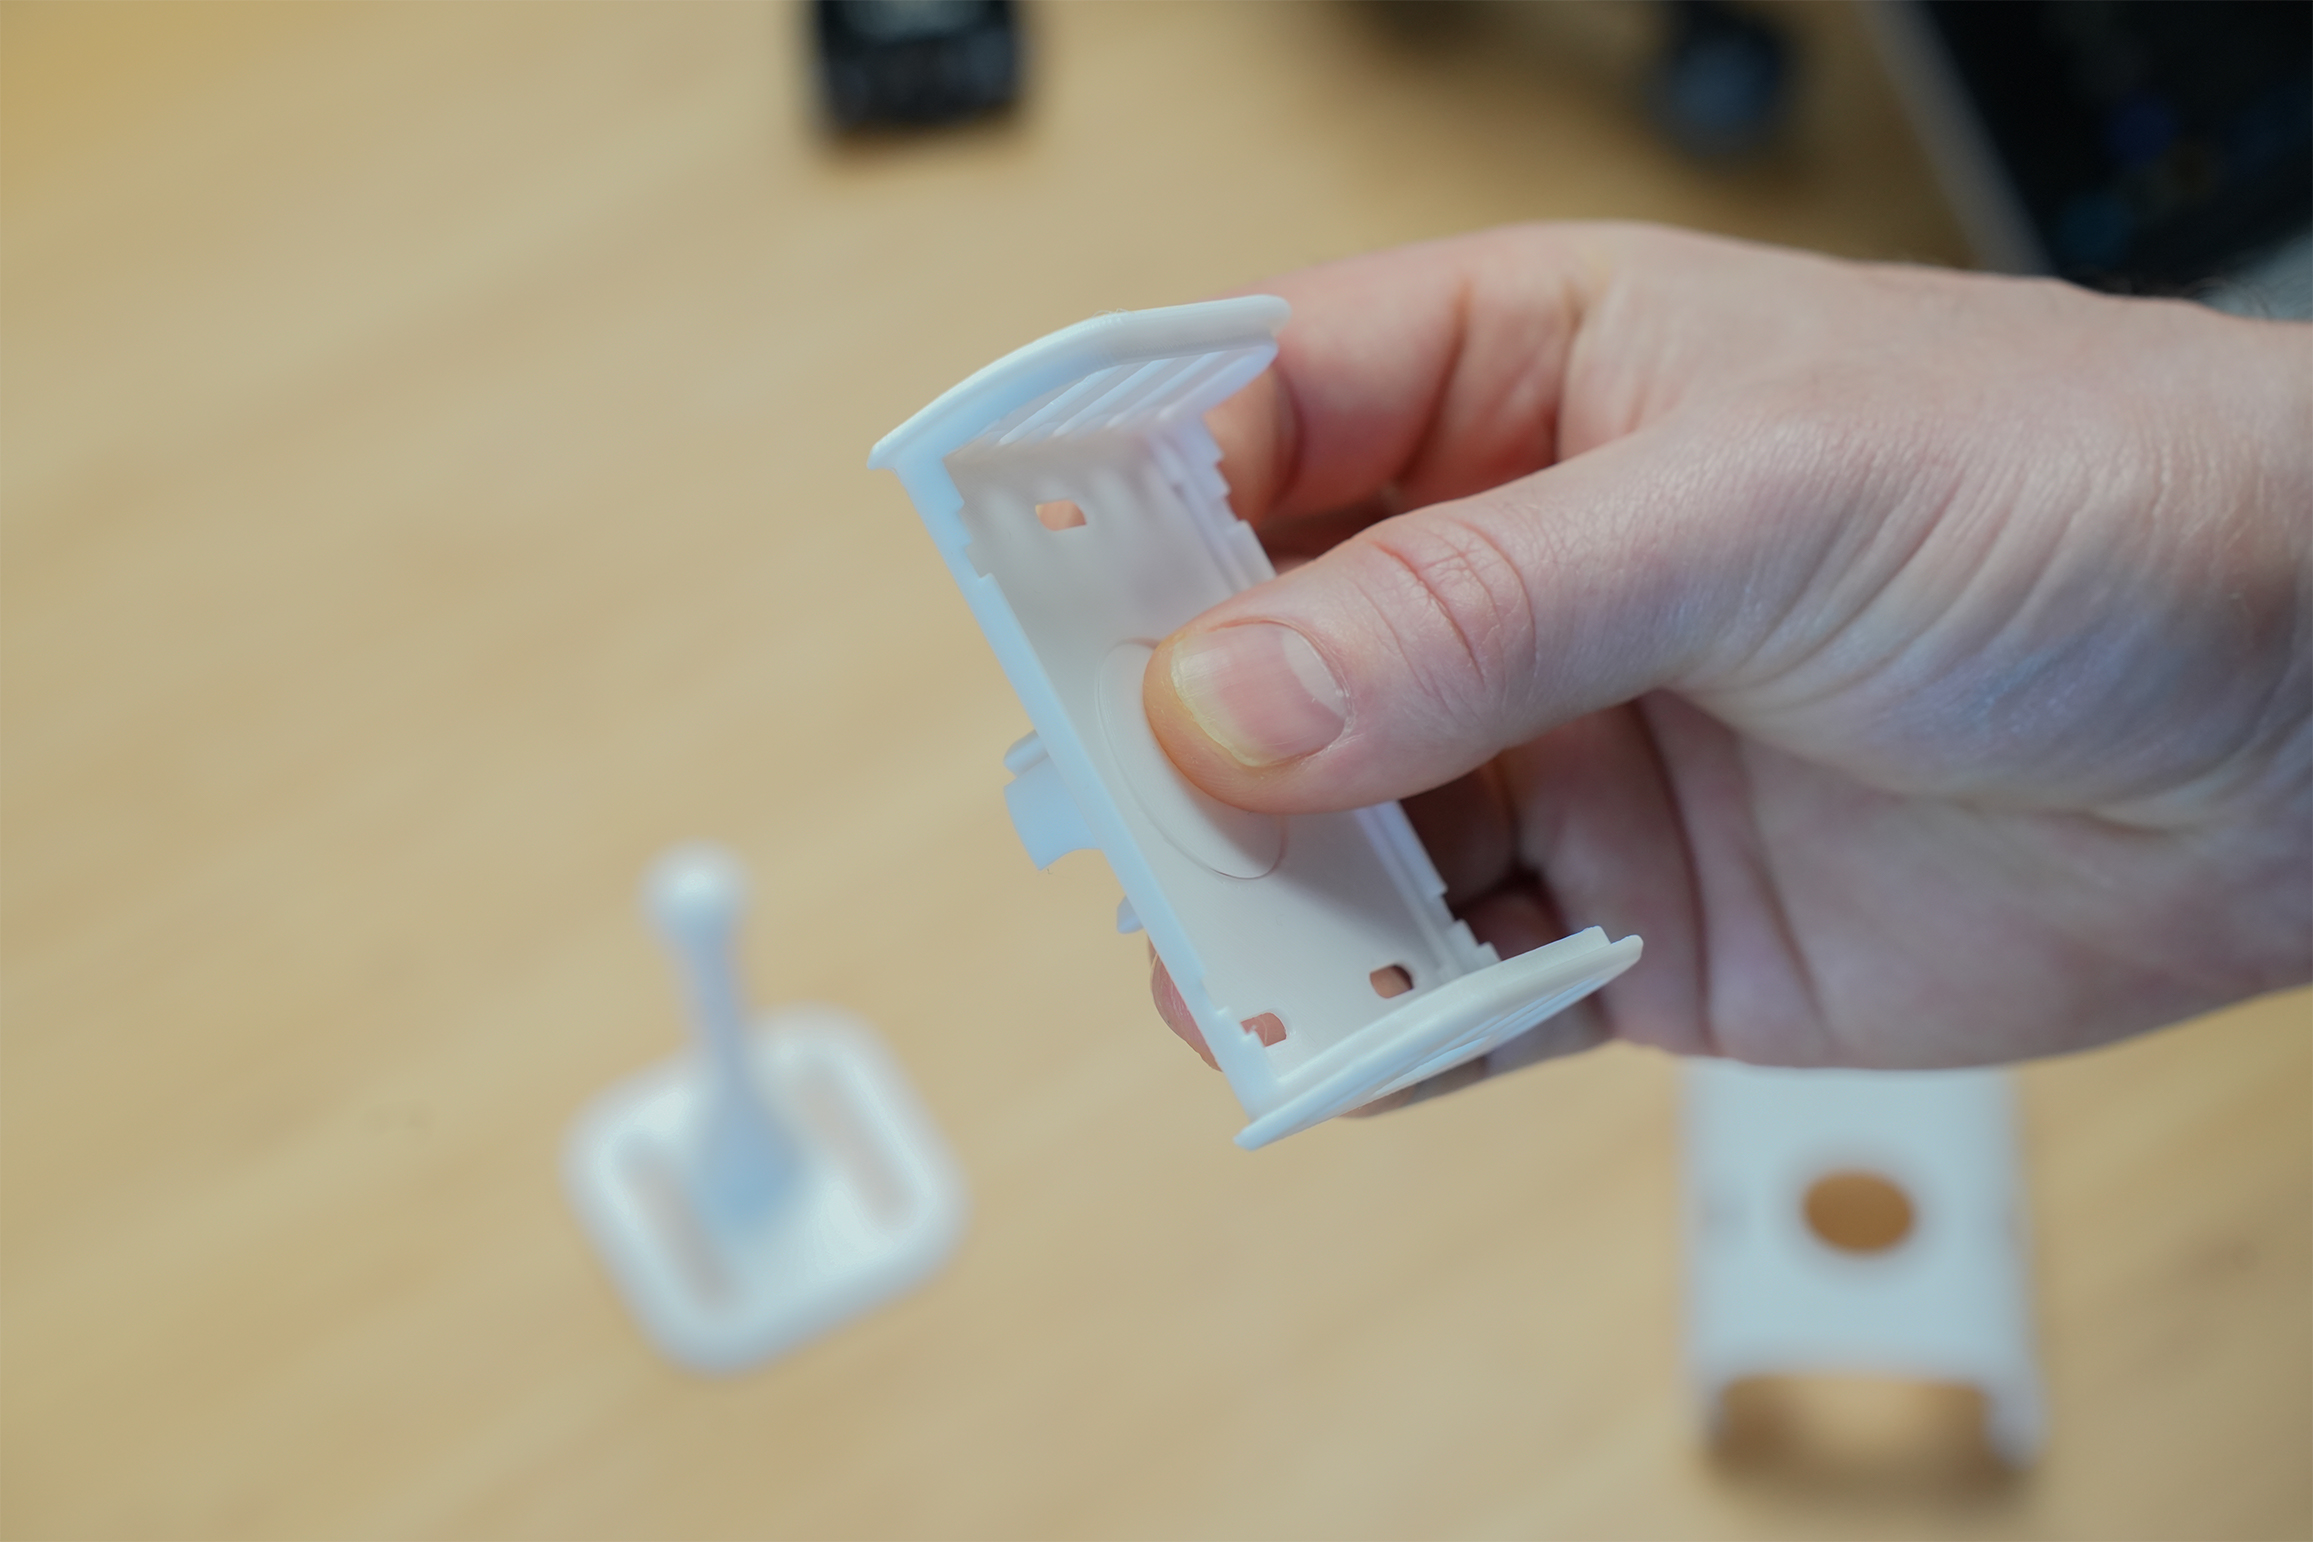 \nThe ball joint should feel snug but remain adjustable with moderate pressure. This allows for positioning flexibility.
Tip
You may find the fit tight initially due to the 3D printing process. This will ease over time with movement.
Step 2: Install the Board and Sensors
What you’ll need:
- EP1 Board
- mmWave Sensor (SEN0395 or SEN0609)
- PIR Sensor
Insert the EP1 Board
Tip
Photos may show the stand removed for clarity—this is not required.
- Press the EP1 board into the back of the case until all four corners click into place.
Insert the mmWave Sensor
Identify your EP1 board revision and sensor type before continuing:
For Dual Slot Boards (Rev 1.3/1.4)
- Compatible only with SEN0395 (6-pin) sensors
- Insert into either slot:
- Top slot: Wider horizontal field of view (recommended)
- Side slot: Wider vertical field of view
For Single Slot Boards (Rev 1.5)
- Compatible with SEN0395 (6-pin) and SEN0609 (5-pin)
Insert based on your sensor:
- SEN0395 (6-pin) → Insert to the far left; align the V pin with the 5V on the board
- SEN0609 (5-pin) → Insert to the far right; align the VIN pin with the 5V on the board
Warning
Important: Always align the 5V pin correctly. Incorrect insertion may damage the sensor.\n\nHandle with care. Pins can bend easily—remove the sensor when adjusting the board or enclosure.
Insert the PIR Sensor
- Push the PIR sensor into the center socket on the EP1 board. It only fits in one orientation—do not force it.
When both sensors are installed, your board should resemble the image below:
Image: Installed Sensors
Step 3: Complete the Case
- Clip the front cover of the case into place until it snaps securely.\n▸ Ensure all corners are fully closed.
Your EP1 is now fully assembled and ready for power.
Step 4: Power On the EP1
What you’ll need:
- USB-C cable
- Power brick (any charger providing ~200mA)
- Connect the USB-C cable to the EP1.
- Plug the other end into the power brick.\n▸ A red LED on the front of the device will illuminate when powered on.
You’re now ready to proceed with the setup process
Home Assistant Set up your EP1 device in Home Assistant